Family Portal
The Family Portal page under Patient > Family Portal allows Agencies to better communicate with a Patient’s family members. Login accounts for the family members can be created via the Family Portal page for them to access communications from the Agency as well as visit information for the Patient.

Complete the following steps to add members to a Patient’s Family Portal.
-
Go to Patient > Family Portal.
-
Click the Add button in the Registered Family Members section.
-
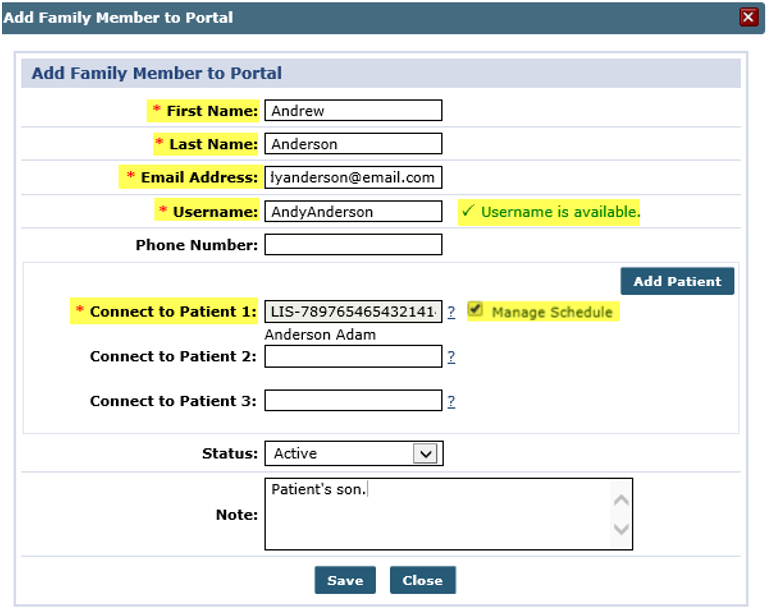
The Add Family Member to Portal window opens. Complete the required fields. A valid email address must be provided per member to receive messages to include the login confirmation and instructions. Usernames must be unique and cannot be the same as the email address.
-
The family member must be connected to at least one Patient at the Agency. If connected to multiple Patients (such as a mutual pairing), they can navigate between those Patients from the Family Portal. If the family member needs to be connected to more than three Patients, click the Add Patient button to open additional Patient selection fields.
-
Select the Manage Schedule checkbox to enable the family member to request schedule changes and raise concerns. Refer to the Enabling the Manage Schedule Functionality for Family Members section for further details.
-
Click Save.
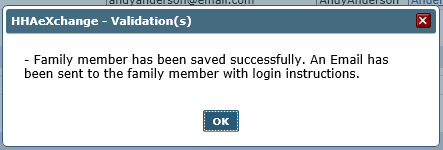
A confirmation message appears alerting the user that the newly added member has been saved successfully.
-
The family member receives an email with login instructions. Click OK to close.
-
The family members information appears as illustrated below. Repeat instructions to add other members to the portal.

The Announcements section houses communications sent by the Agency on a global level (to all Family Portals) or to individual portals. Each line item indicates the Date/Time of the message, the Recipients (Click the link to view specifics), the Subject of the message, the actual Message, and the Status. The attachment Paperclip icon indicates if an attachment is available (if green in color). Click the H link to view any message history.


