How do I create a New User Account in the system?
Complete the following steps to create a New User account in the system.
-
Go to Admin > User Management > New User to open the Add New User page.
-
On the Add New User page, complete the required fields (marked with a red asterisk), described as follows:
-
*First Name: Enter the user’s first name.
-
*Last Name: Enter the user’s last name.
-
*Login Name: Enter the user’s unique login name based on the guidelines below. This is the name they use to log into the system.
-
The login name must be unique within an agency and across the HHAeXchange platform.
-
The username can include letters, numbers, underscores, dashes, @ sign, or dots. There is a 50-character limit to any login name. A user can use their email address as a username.
-
-
*Email: Enter the user’s unique email address. This email address is where the user receives any assigned system notifications, including the first email with a temporary password to log in to the system.
-
*Role: Select the role(s) for the user.
-
-
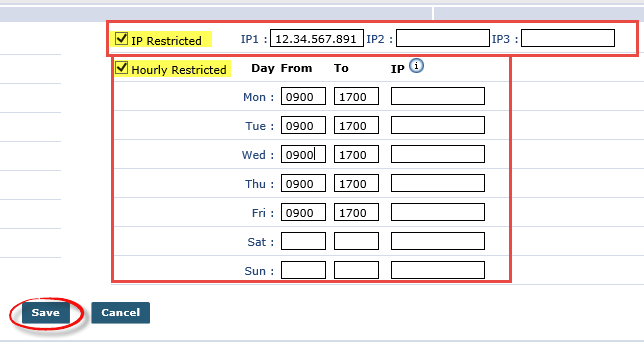
To place access restrictions for the user, use the IP Restriction and/or the Hourly Restricted options, described below.
Access restriction is optional. -
Select the checkboxes to apply more permissions, specific to the user, such as:
-
Pending Placement Notifications
-
Grant Access to Reporting Tool
-
Accept Unspecified Office Placement to the user.
-
-
For certain functions in the system, the user’s Social Security Number (SSN) is required as a unique identifier. Enter the user’s SSN in the SSN# field. Note: This field is optional.
-
In the Office Setup section, assign offices to the user and specify permissions and roles for the added offices. Click the Add button to assign an office and functions to the user.
-
For users using the Operation Worklists feature, complete the Operation Worklist Setup section.
-
Click Save to create the new user’s profile. The user receives an email with a temporary password to log in to the system.
-
Provide the user with their login name since the email doesn’t include this information.
