HomeCareHub Mobile App Patients Page

On the Patients page, you can:
-
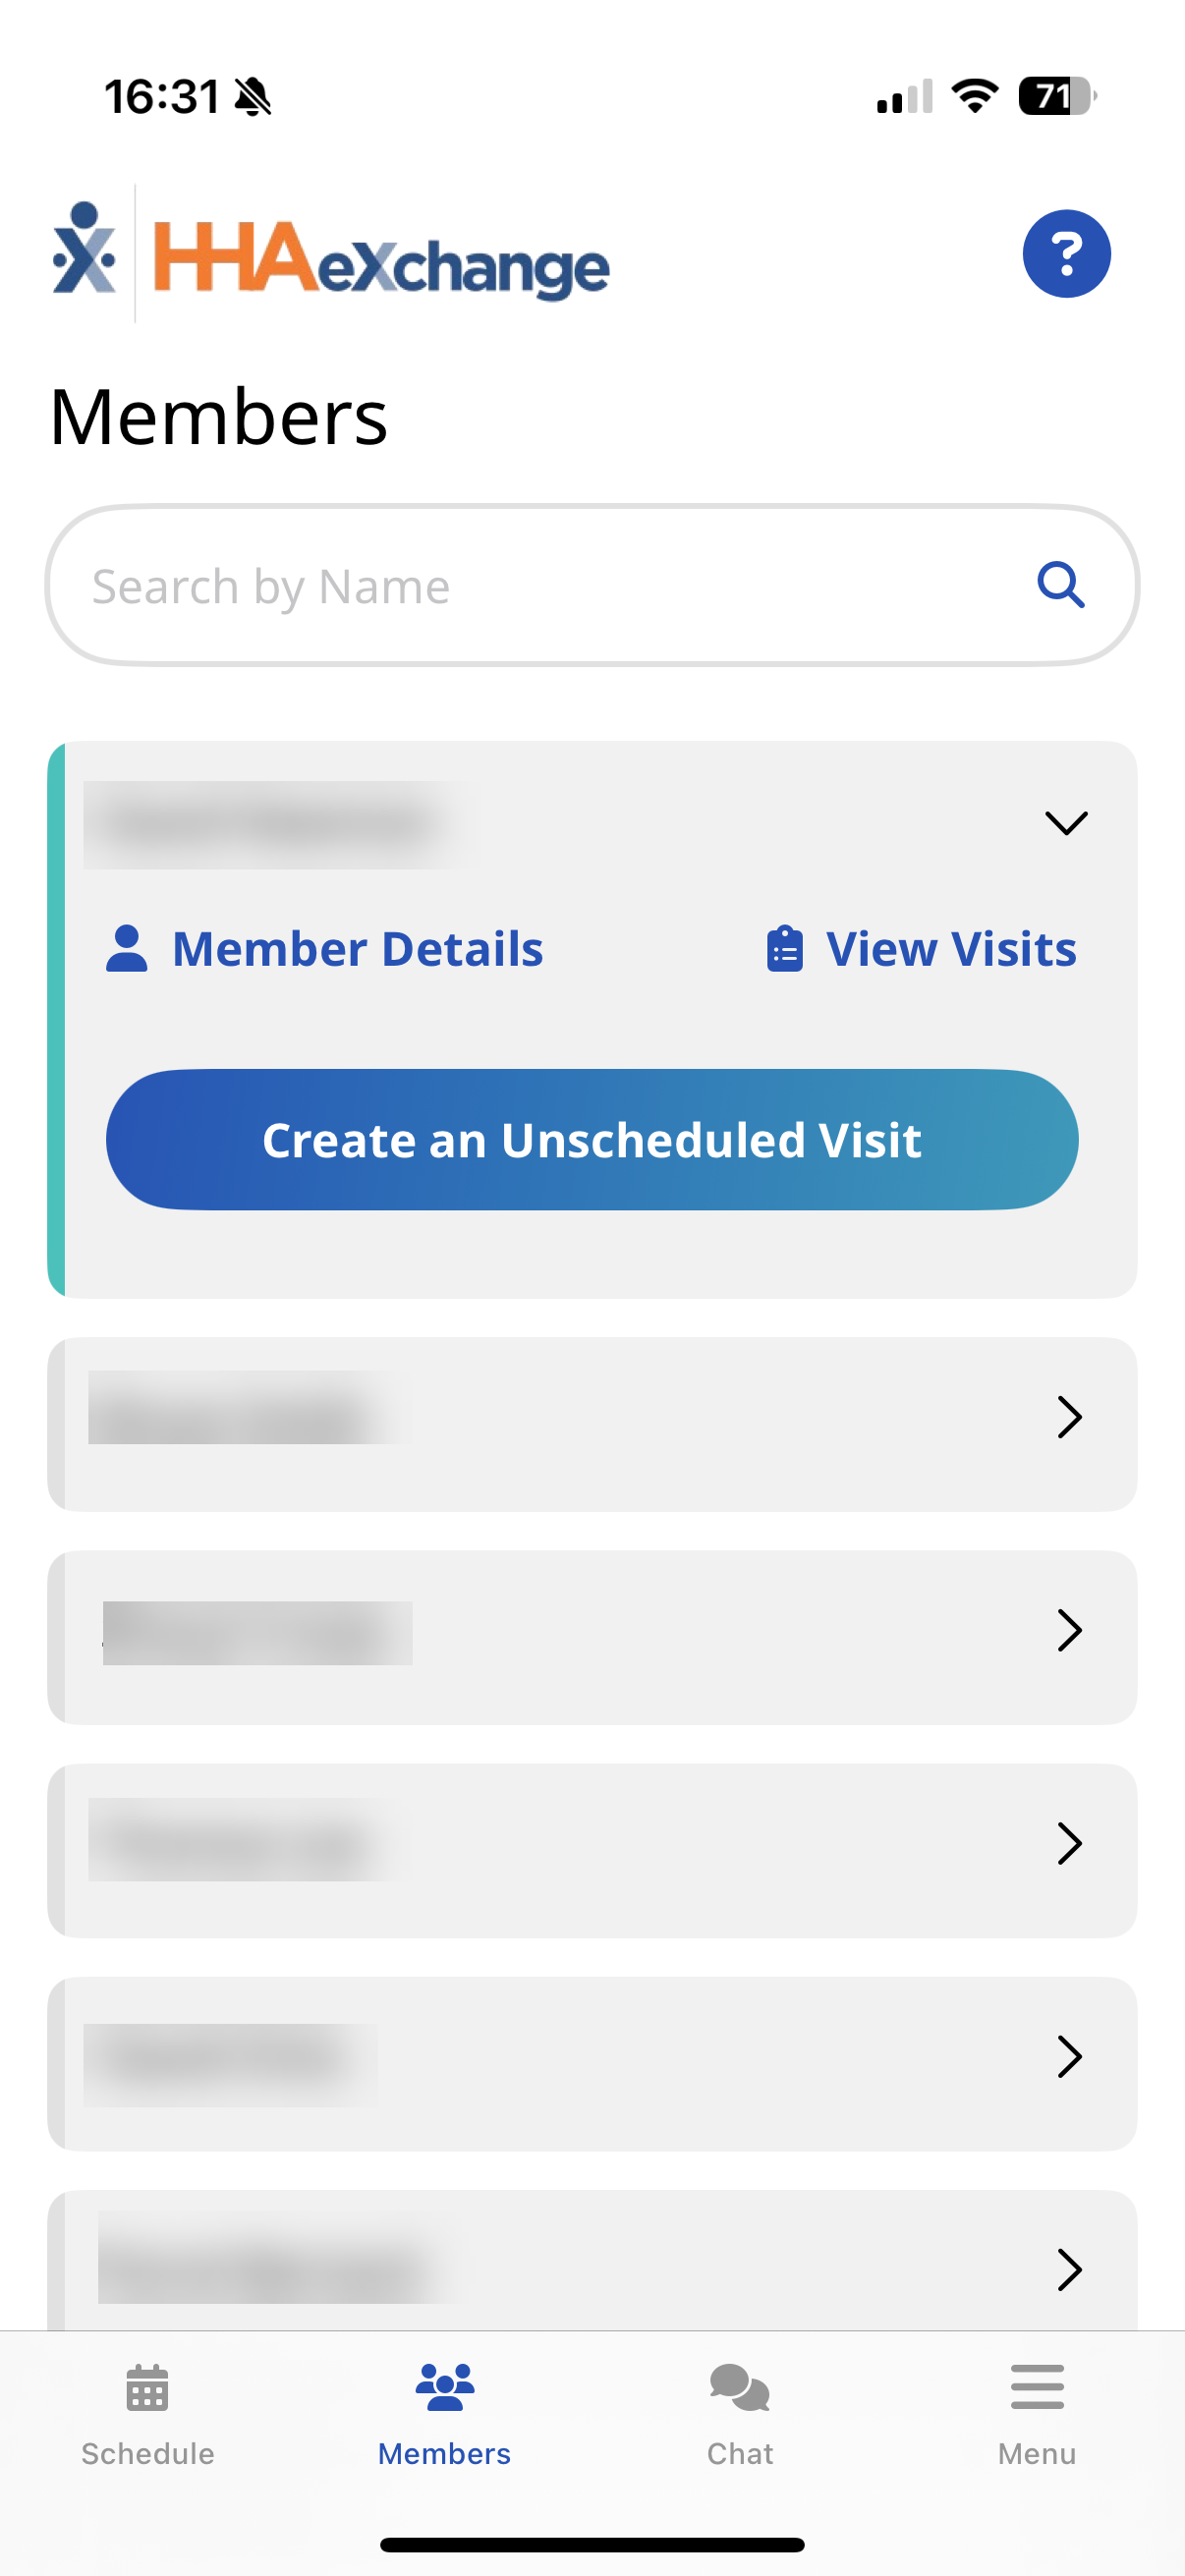
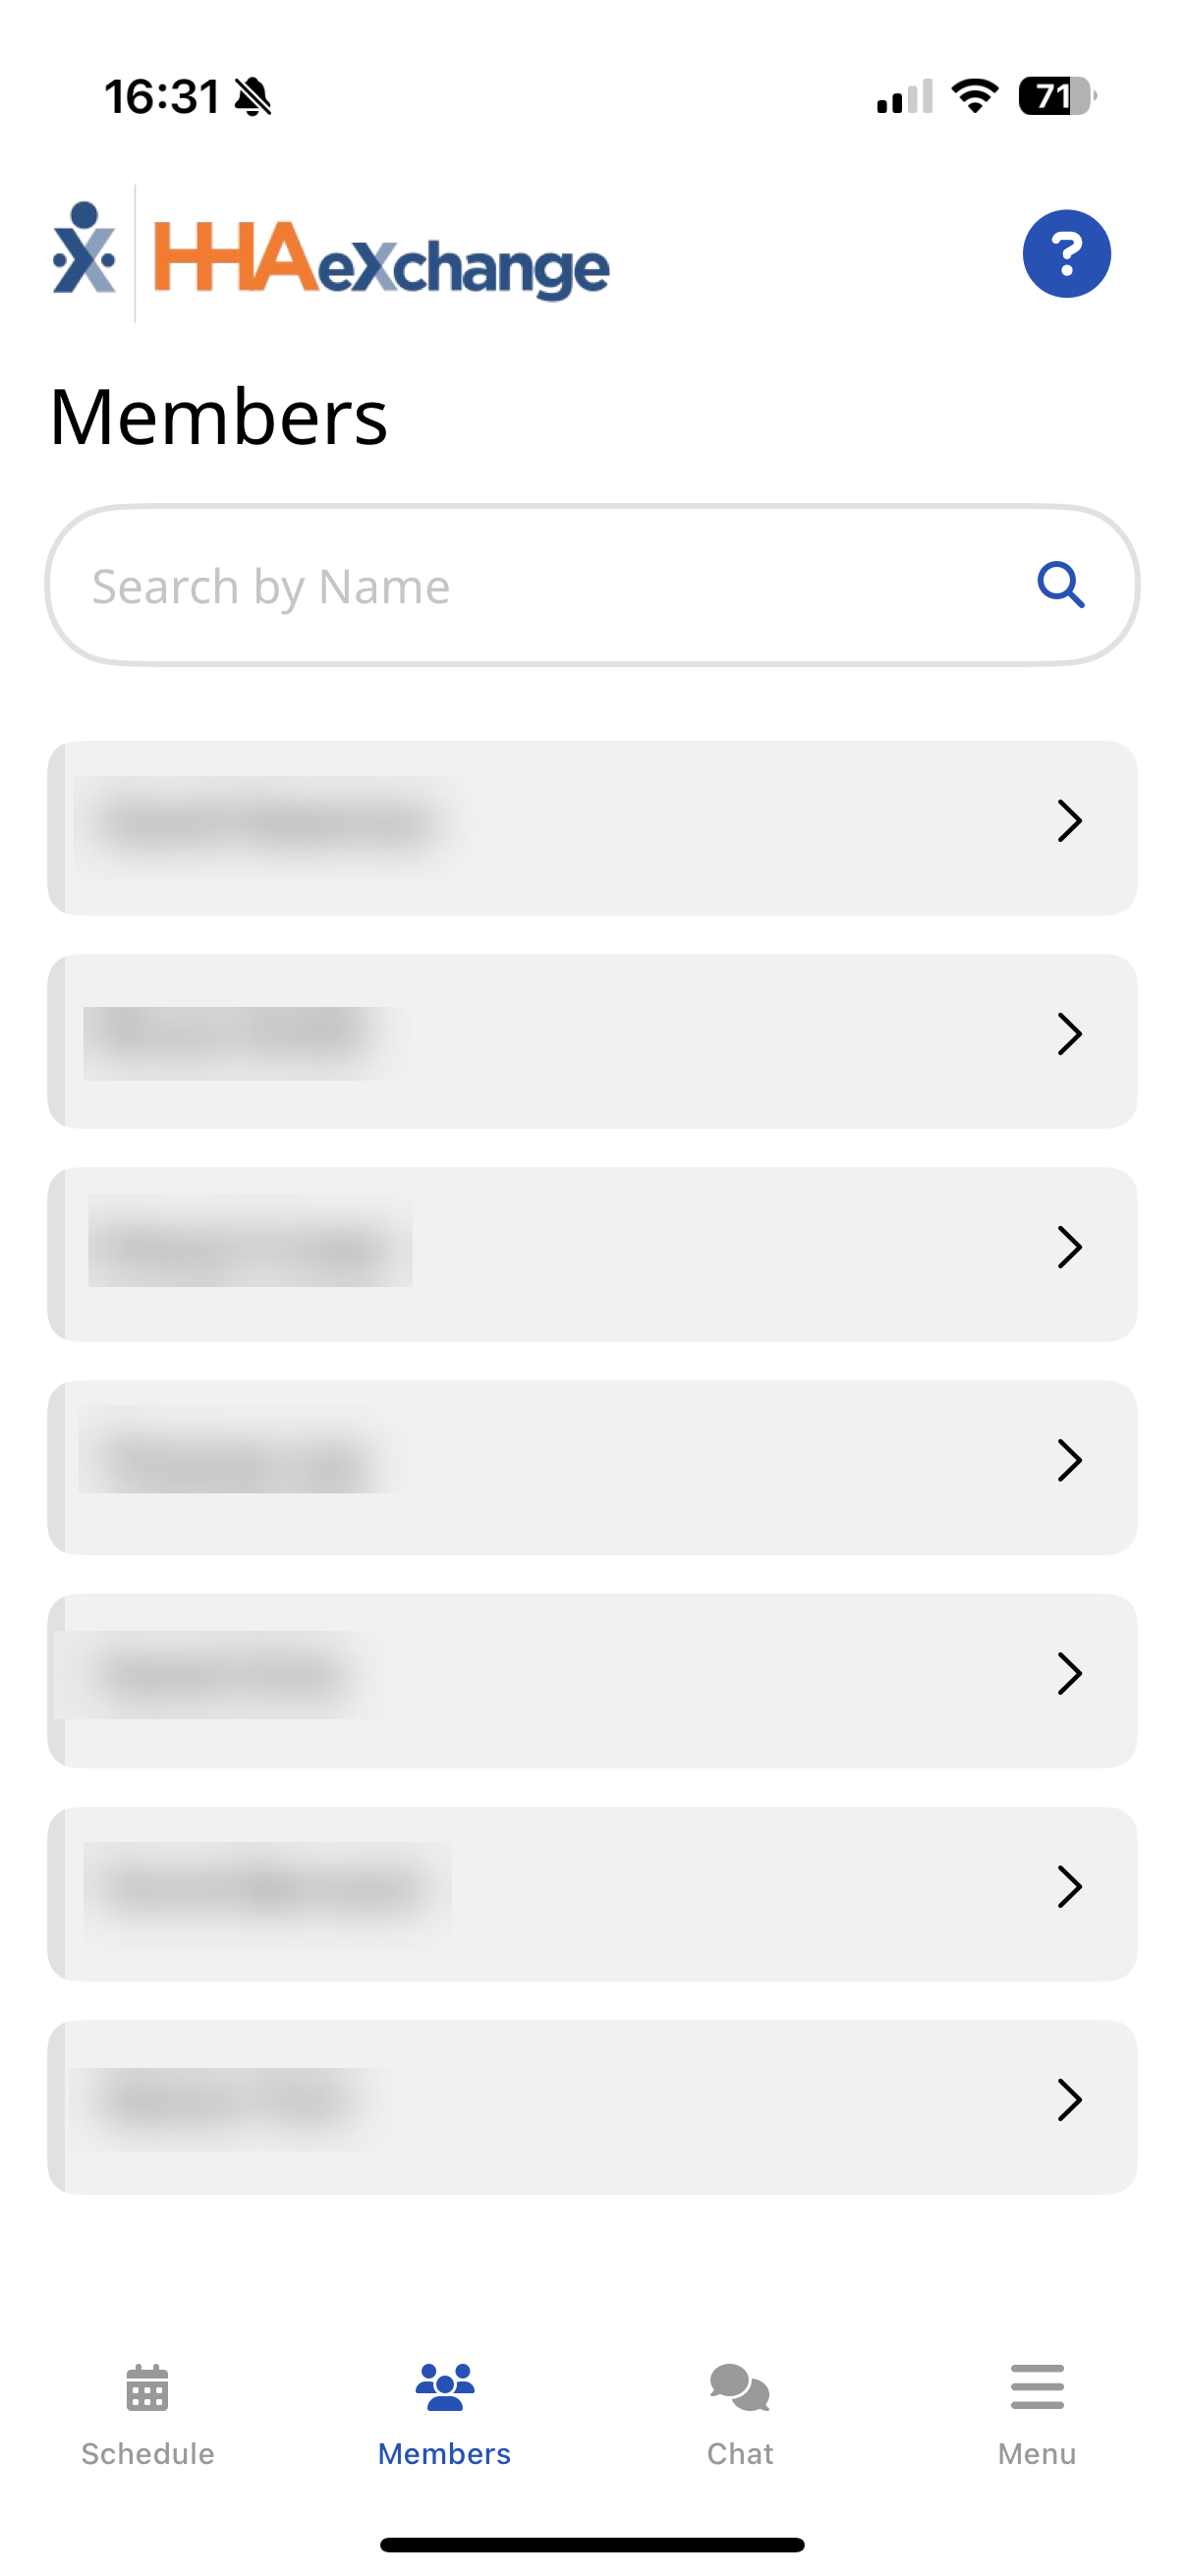
Select a listed Patient or find a Patient in the list by typing the Patient Name or Address and tapping the Search icon.
-
View Historical Data on the Mobile App. Historical Data is available on the Mobile App for:
-
Patient List - Includes Patients serviced during the past 30 days plus other Patients assigned to the Caregiver by the Agency.
-
Patient Search - Up to 365 days.
-
The Patients page lists Patients that you have visited in the past or are scheduled to visit.
Select a listed Patient, or type part of a Patient’s name and tap the Search icon to look up a Patient you are authorized to visit. When you select a Patient, you can view Patient Details and View Visits. If you are authorized, Patient Details may include Clinical Info and Medications.
Patient Details include Patient Name, Admission ID, assigned Office, Phone Numbers, Addresses, Emergency Contacts, and, if configured, Clinical Information.
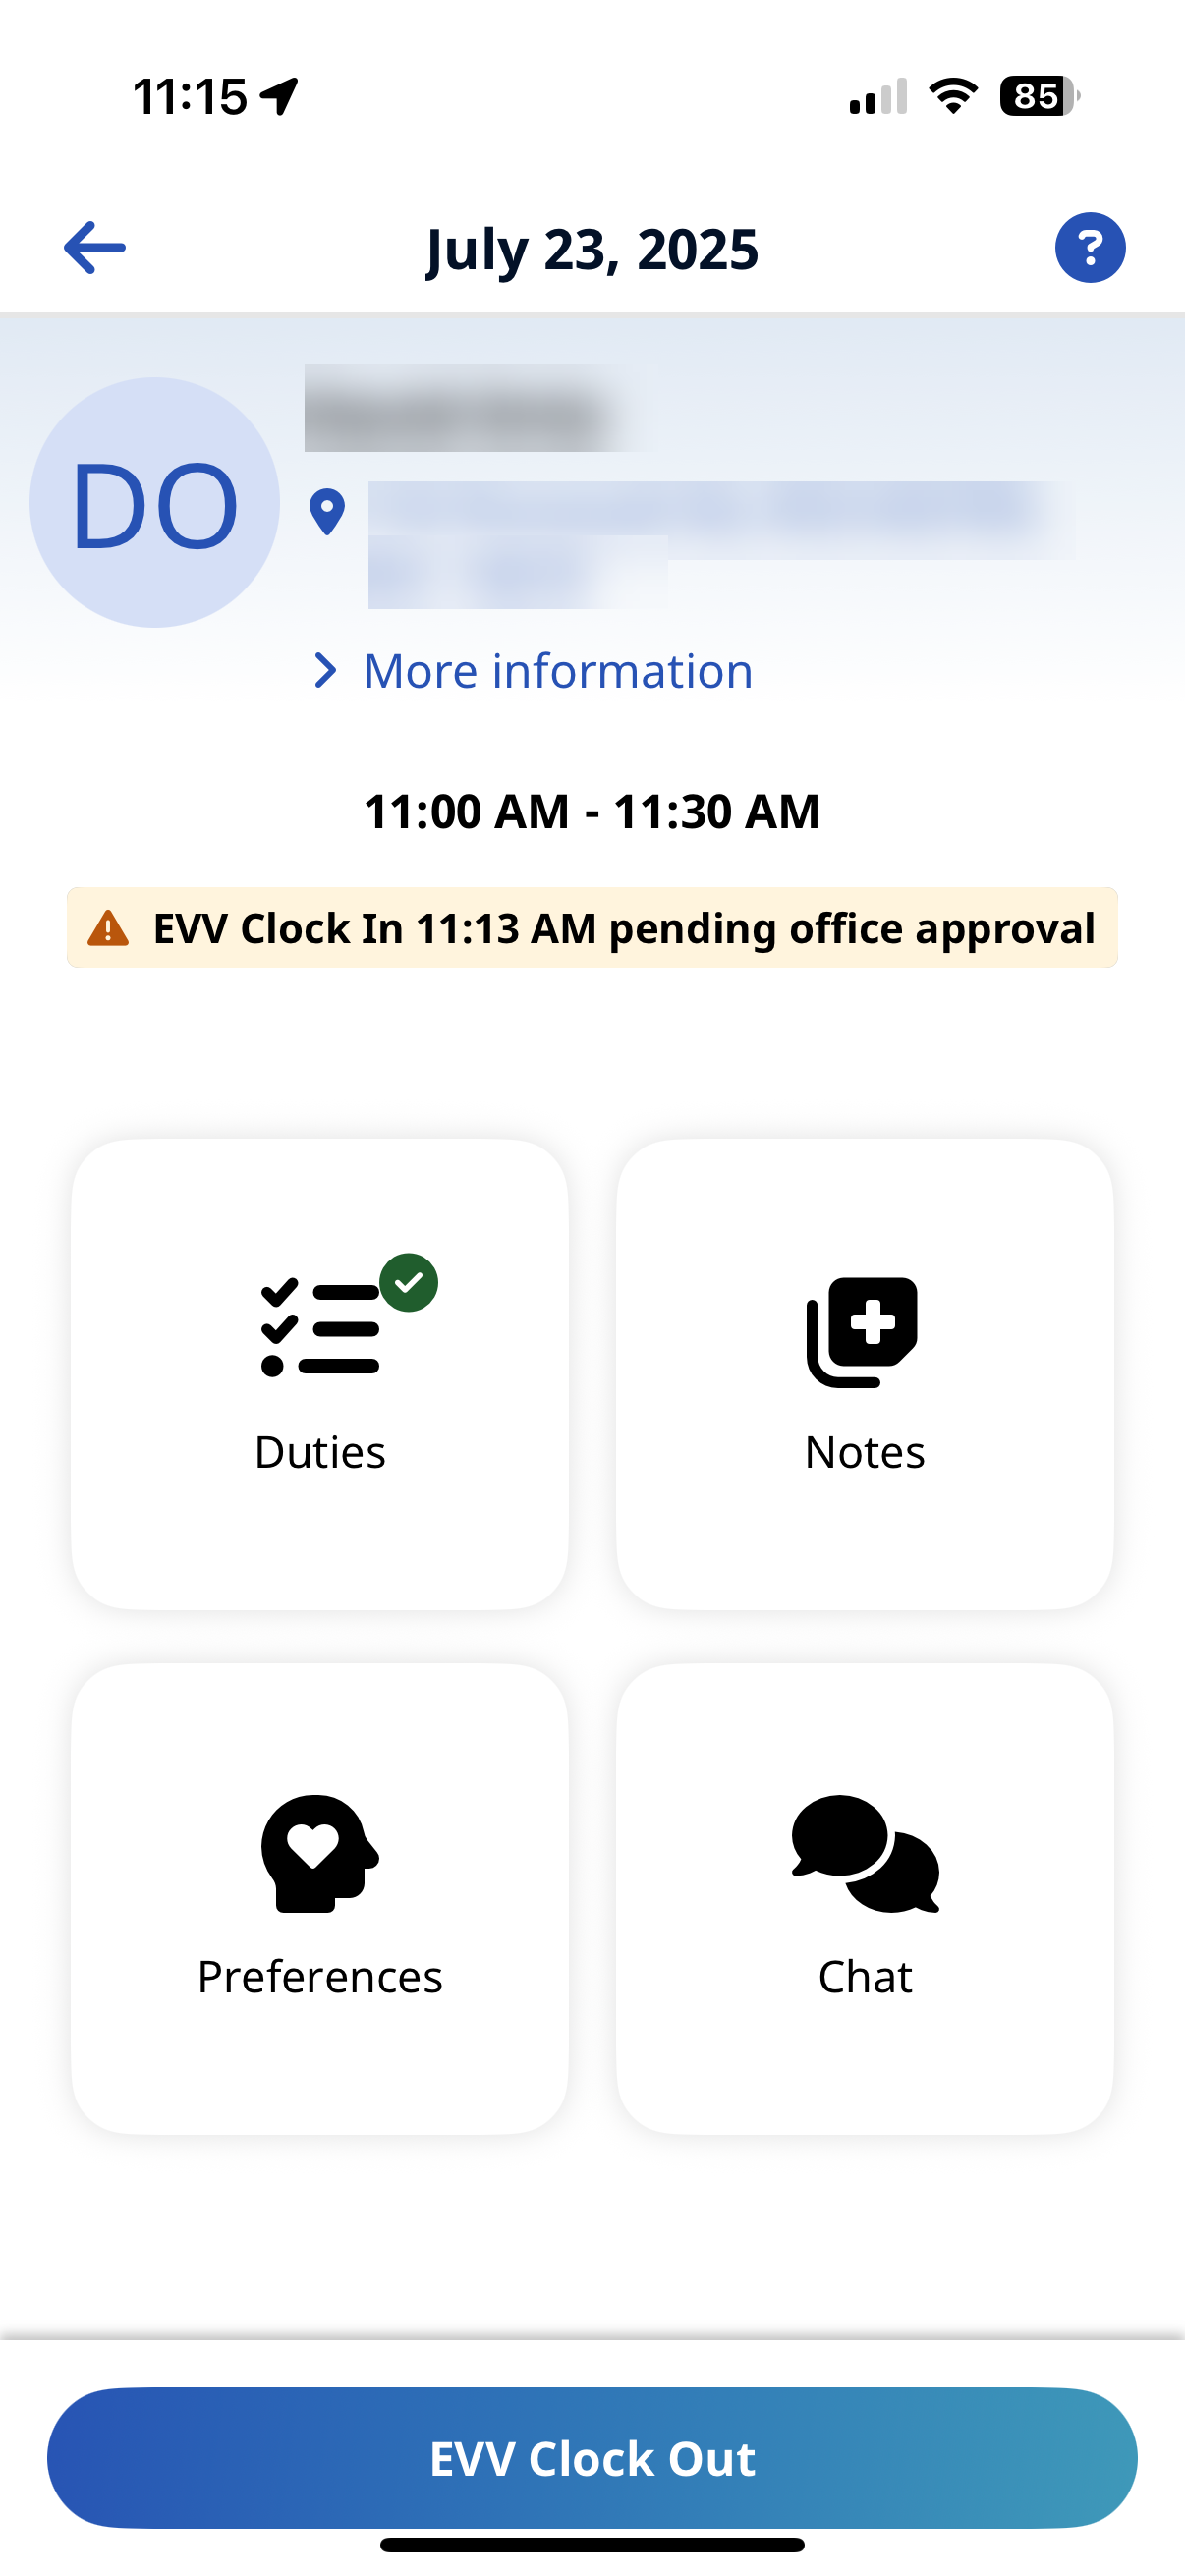
Visit Details - If configured, Duties, Questionnaires, Goals, Notes, Chat, Medications, and Patient Preferences.
You can select Create an Unscheduled Visit from the Patients page to create a new Unscheduled Visit. You can create an Unscheduled Visit for any Patient to whom you have access, whether or not you have previously worked with the Patient.

To create a new visit from the Patients page:
-
Select the Patient or use the Search function at the top of the page to look up and select a Patient.
-
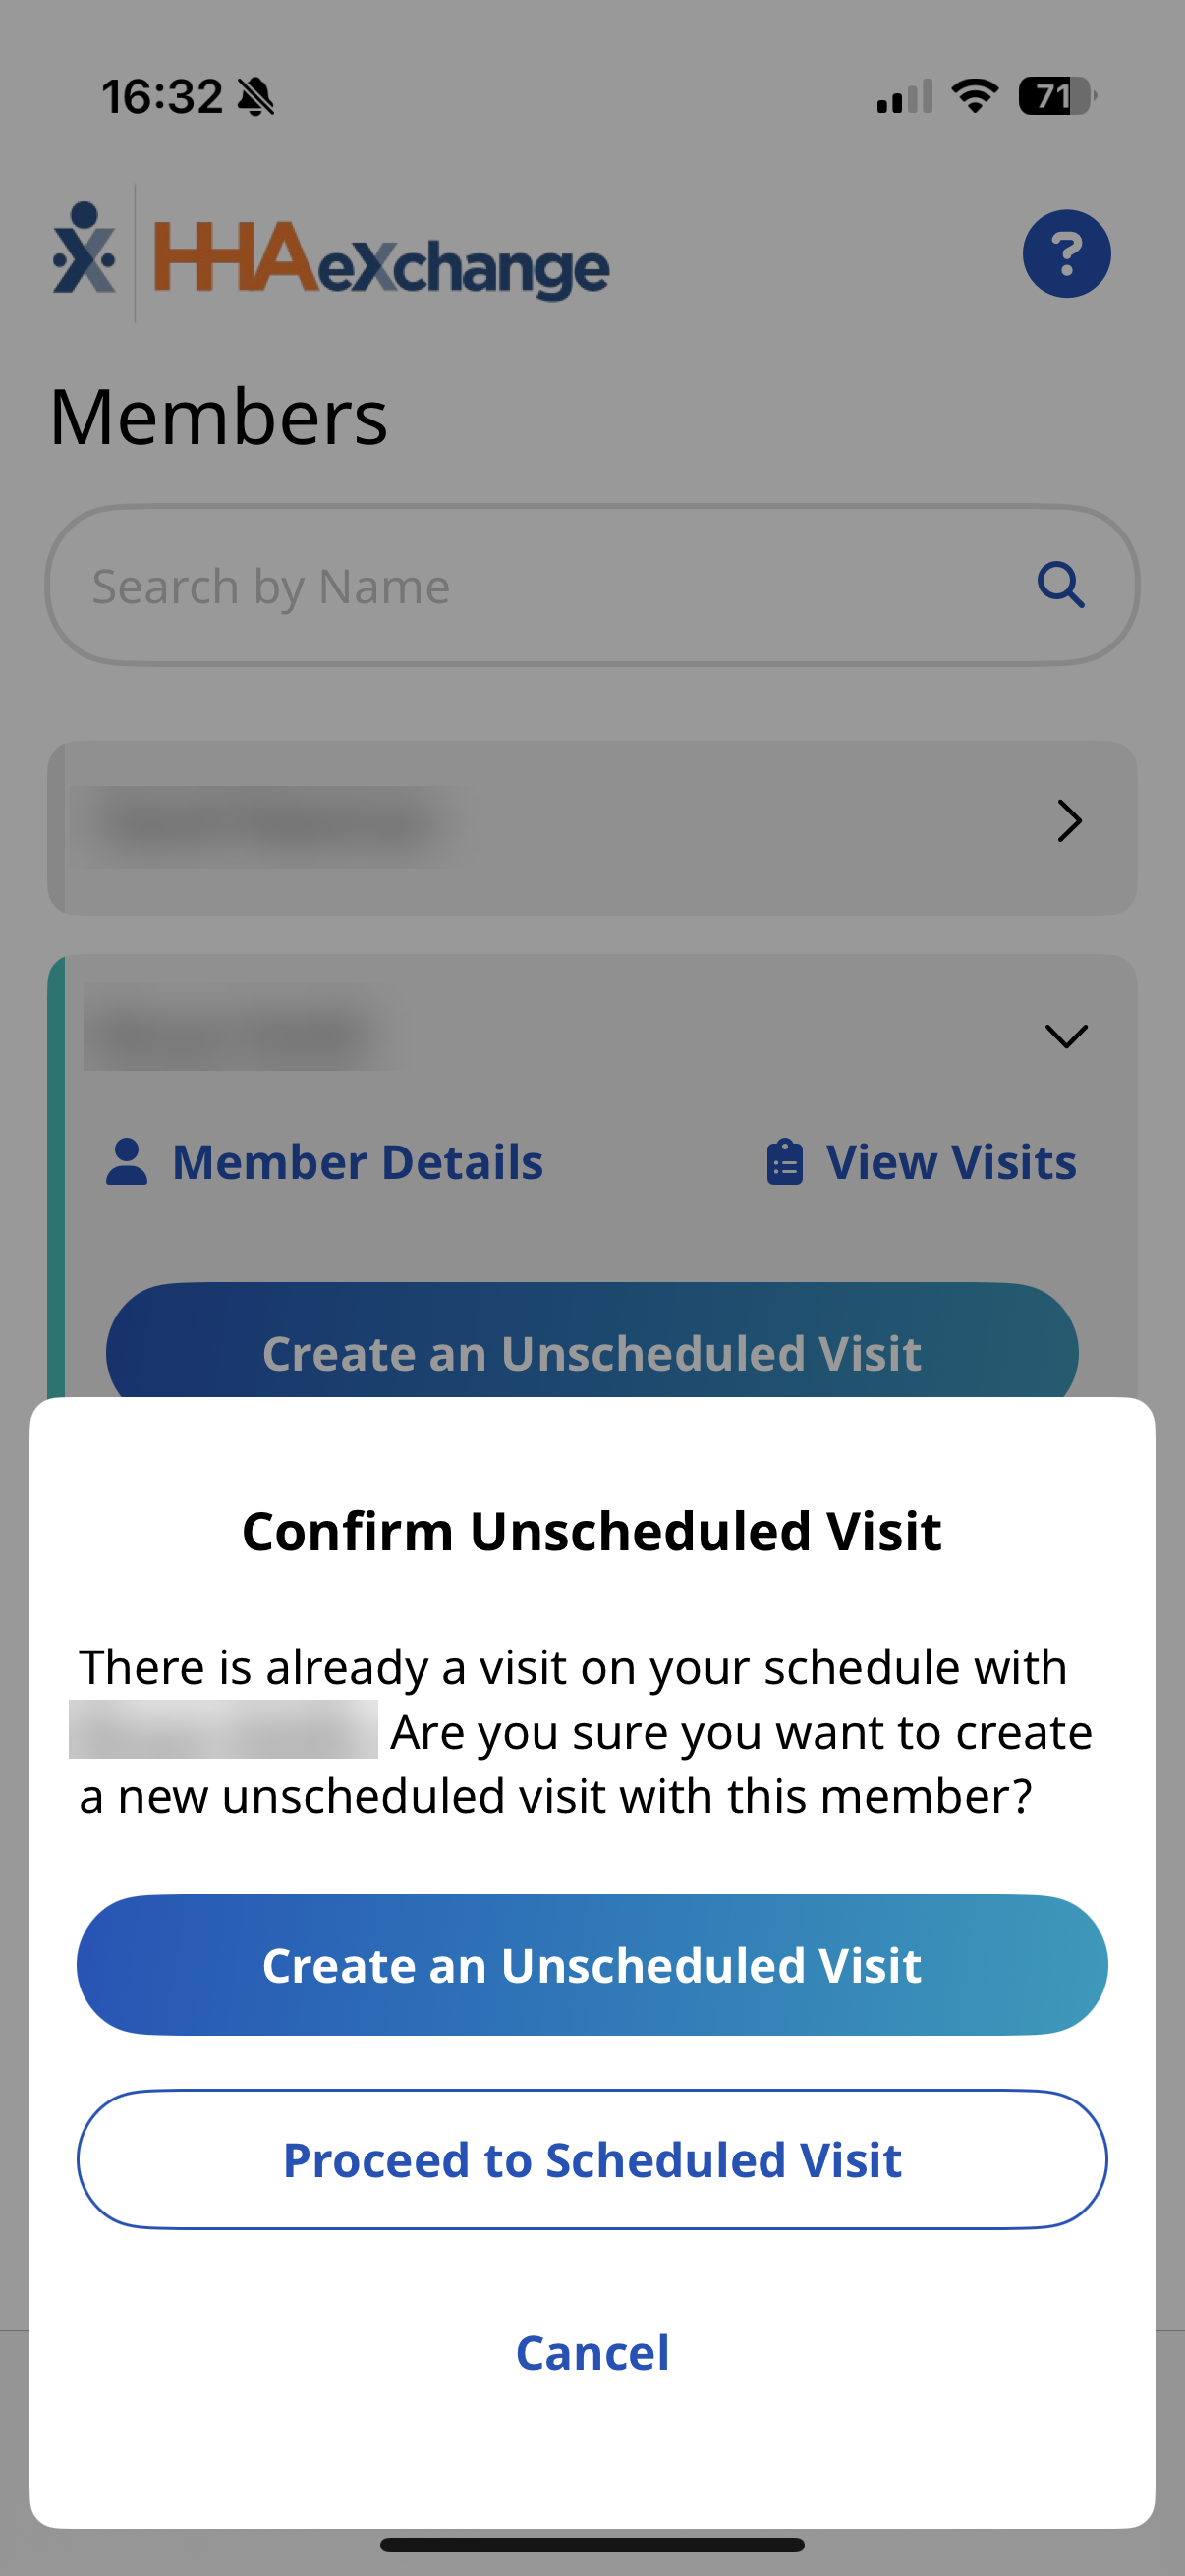
Tap Create an Unscheduled Visit. If a matching visit is already scheduled with the Patient, the Mobile App gives you the option of using that Scheduled Visit instead of this New Visit.
-
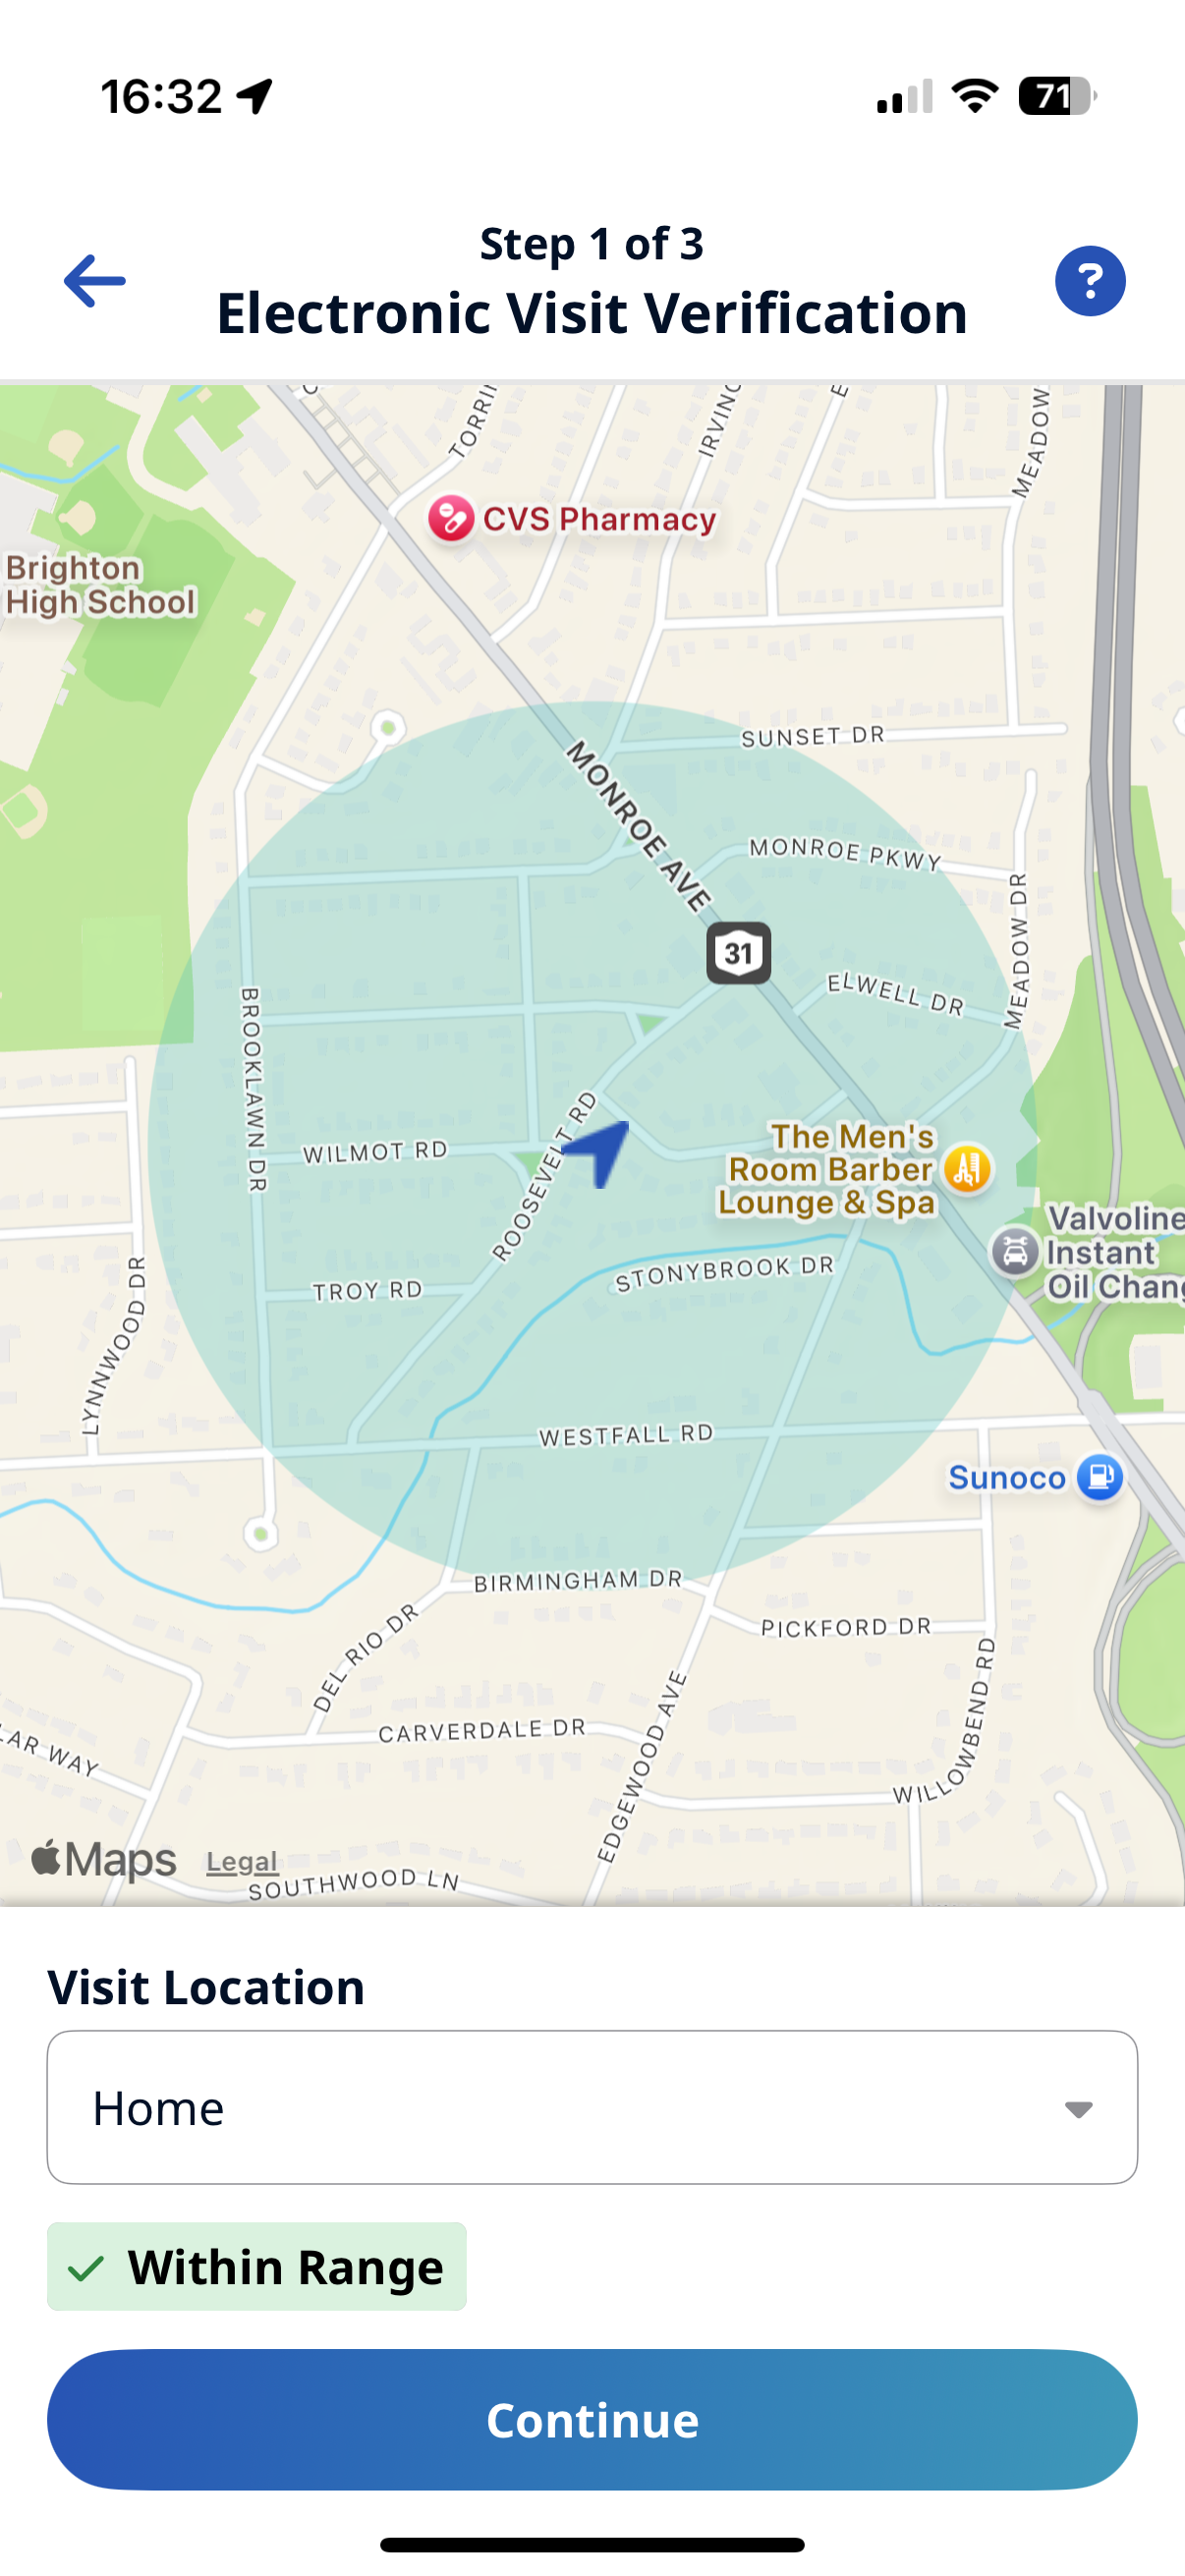
If configured by the Agency, on the Electronic Visit Verification page, select GPS or Security Token as the EVV method.
-
If you select GPS, you can use the map to help locate the Patient Address, and (if configured by the Agency) you can change the Service Delivery Location from the Member's Home to another value to bypass the need for proximity to the Patient Address.
-
If you select Security Token, you are prompted to enter the six-digit Device ID and Passcode.
-
When you are finished, tap Continue.
-
-
If required, obtain Patient Signature and tap Submit, or tap Skip if available, and select the reason for skipping.
-
If required, obtain Patient Voice Consent (Record, Stop Recording) and tap Done, or tap Skip if available, and select the reason for skipping.

To clock out of a visit:
-
If required, select a Service Code in Visit Settings.
-
If you have Non-EVV Services to record (and the Agency is configured to allow it), tap the checkmark to select Non-EVV Services and select the Duration of Non-EVV Services in Hours and Minutes.
-
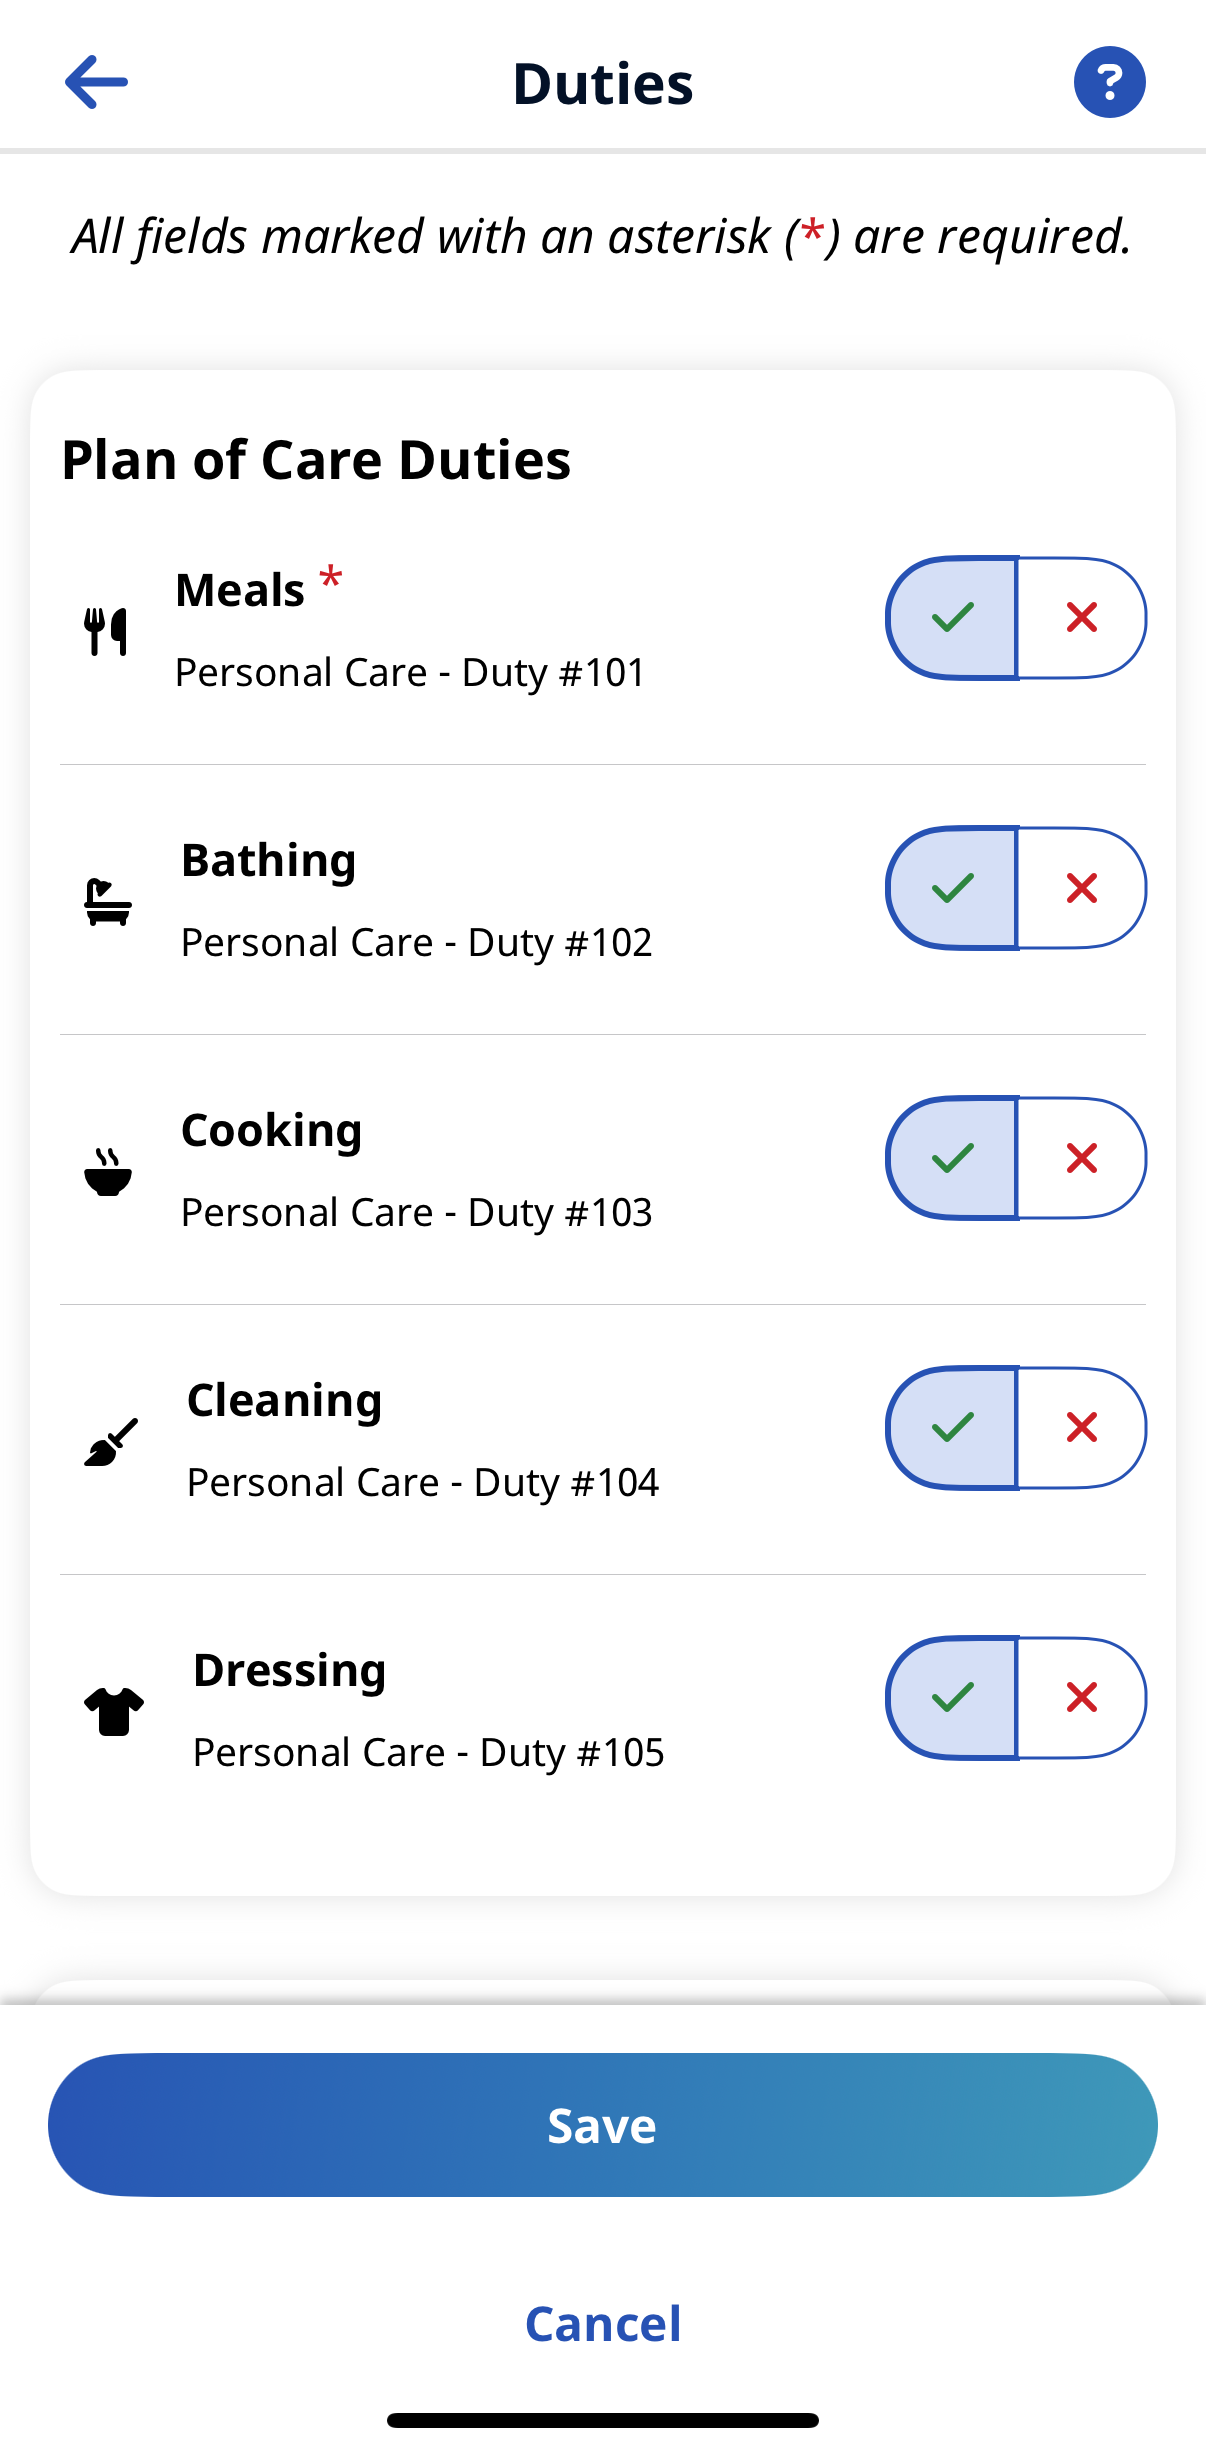
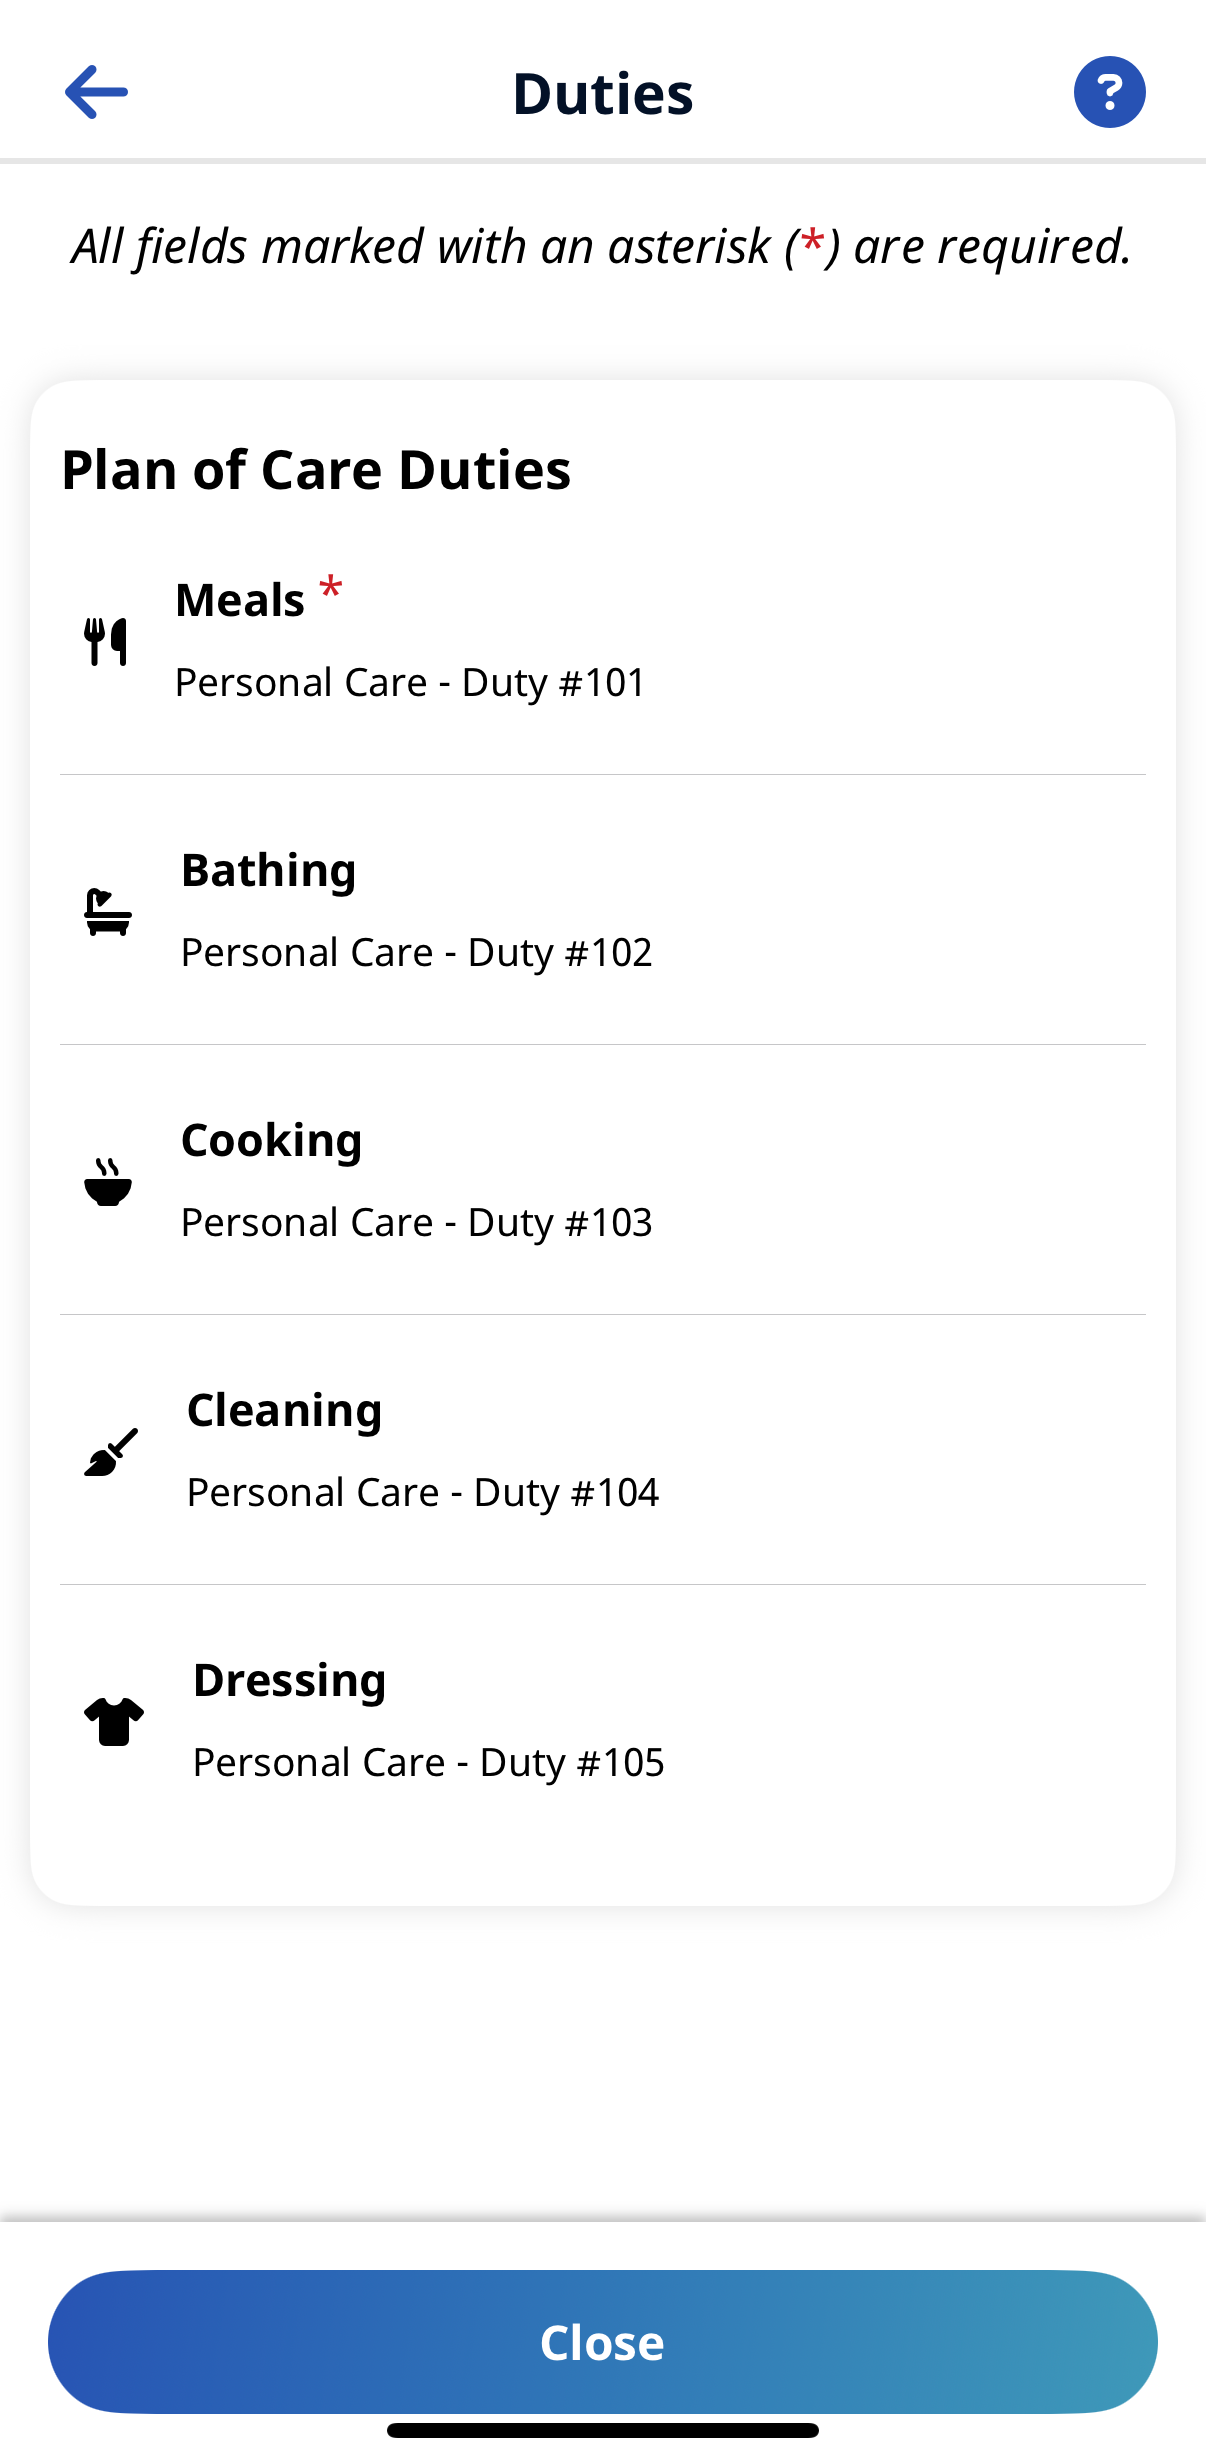
If the Visit includes a Plan of Care Duties or Other Duties are added, select the checkmark or the X for duties that are performed or refused. Select any required Value for duties performed and any Refused Duty Reason the Agency requires.
-
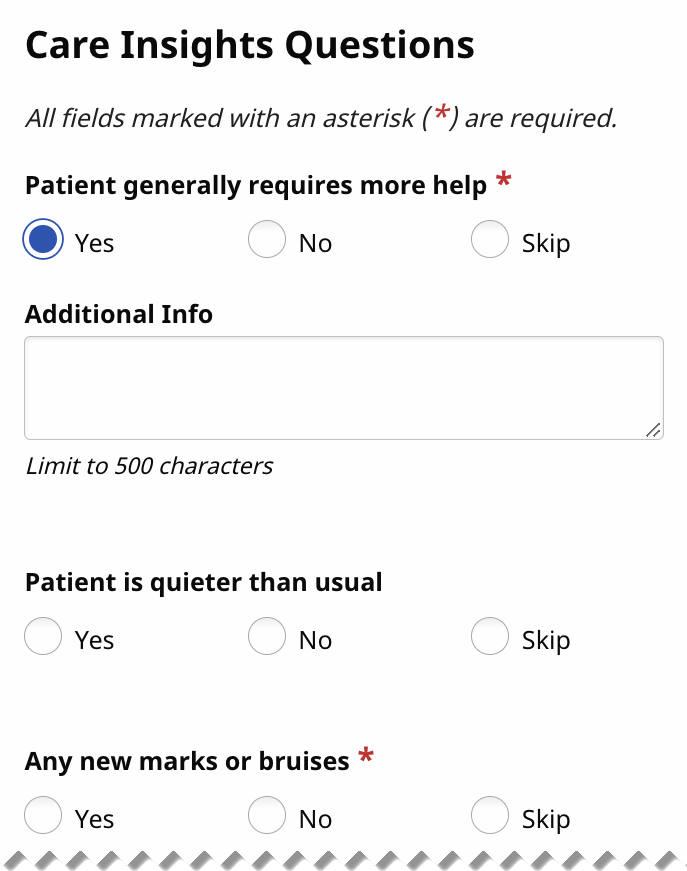
If the Visit includes Questionnaires, answer all required questions and provide Additional Info as needed. Tap Save Responses.
-
If you want to add a note about the visit, tap Notes and then Add Note.
-
When you are finished, tap Clock Out at the bottom of the page.
-
If required, obtain a Patient Signature, an RN (Coordinator) Signature, and a Caregiver Signature, and tap Submit, or tap Skip if available and select the reason for skipping.
-
If required, obtain Patient Voice Consent (Record, Stop Recording) and tap Done, or tap Skip if available, and select the reason for skipping.

Follow these steps to enter a Visit Note.
-
From the Visit Details page, tap Notes and then Add Note.
-
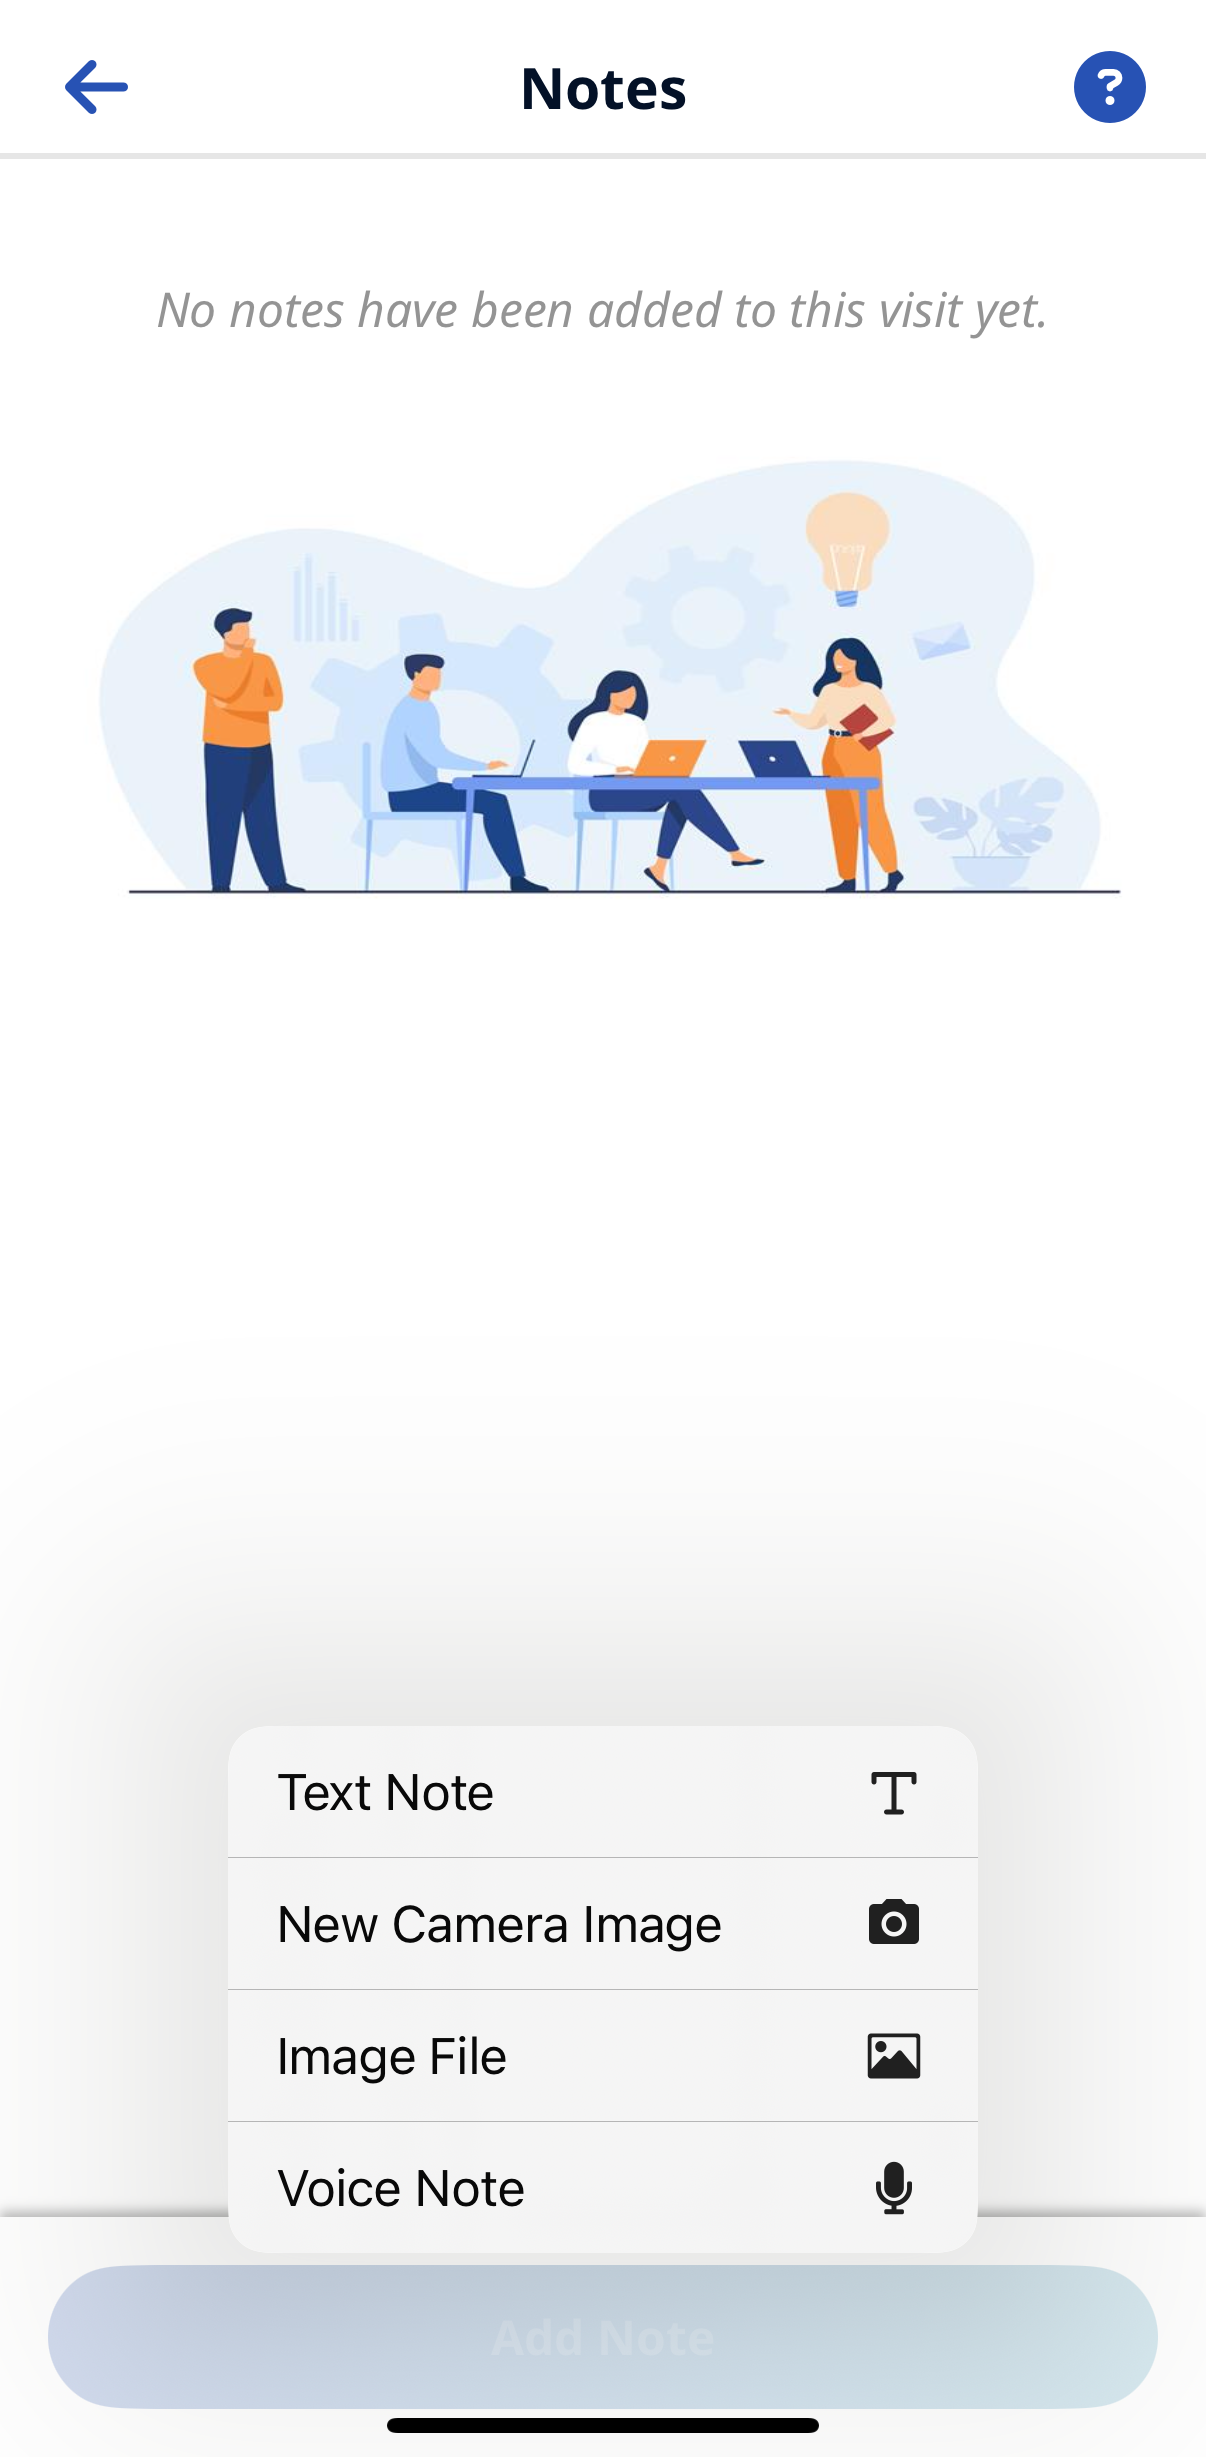
Select the Note Type
-
Text Note - Up to 1000 characters.
-
New Camera Image - Opens the phone's camera, allows you to take a photo and add a description up to 500 characters.
-
Image File - Opens a Search page you can browse the phone for a file to attach.
-
Voice Note - Opens a recorder where you can record and save audio comments.
-
-
Obtain and attach the Note, and then tap Save.
From the Notes page:
-
To view an attached note, tap it.
-
To edit an attached note, tap the Edit icon.
-
To delete an attached note, tap the Delete Note button.

On the Visit Details page, you can view:
-
View Schedule Time - Scheduled Start Time and End Time of Visit.
-
Patient Details - Patient Name, Admission ID, assigned Office, Phone Numbers, Addresses, Emergency Contacts, and, if configured, Clinical Information.
-
Visit Details - If configured, Duties, Questionnaires, Goals, Notes, Chat, and Patient Preferences.
