Reporting Tool User Interface
Go to Report > Reporting Tool (2.0) to open the Reporting Tool window.
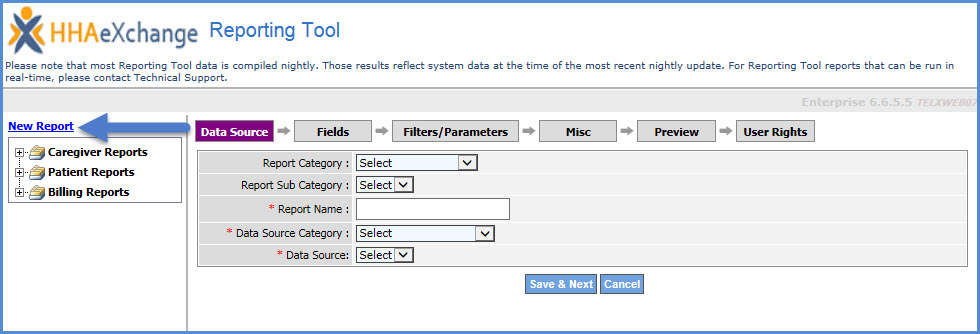
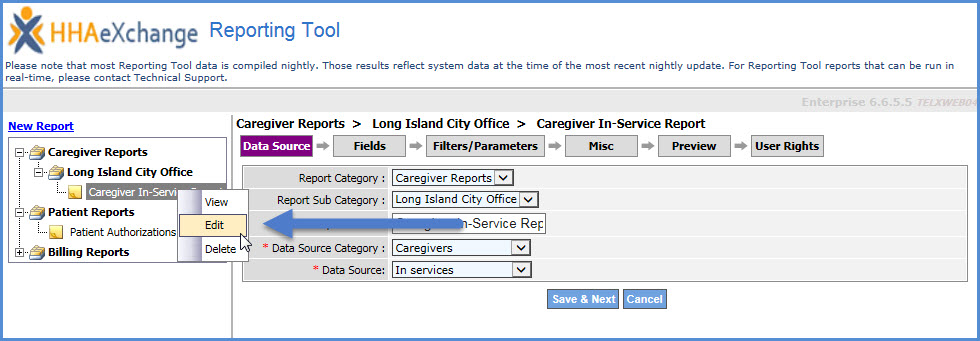
In the Reporting Tool page, select the New Report link (at the top of the left navigation panel) to create a report, or select an existing report to run, edit, or delete, by expanding one of the Report Categories, or the folders containing the created ad hoc reports.
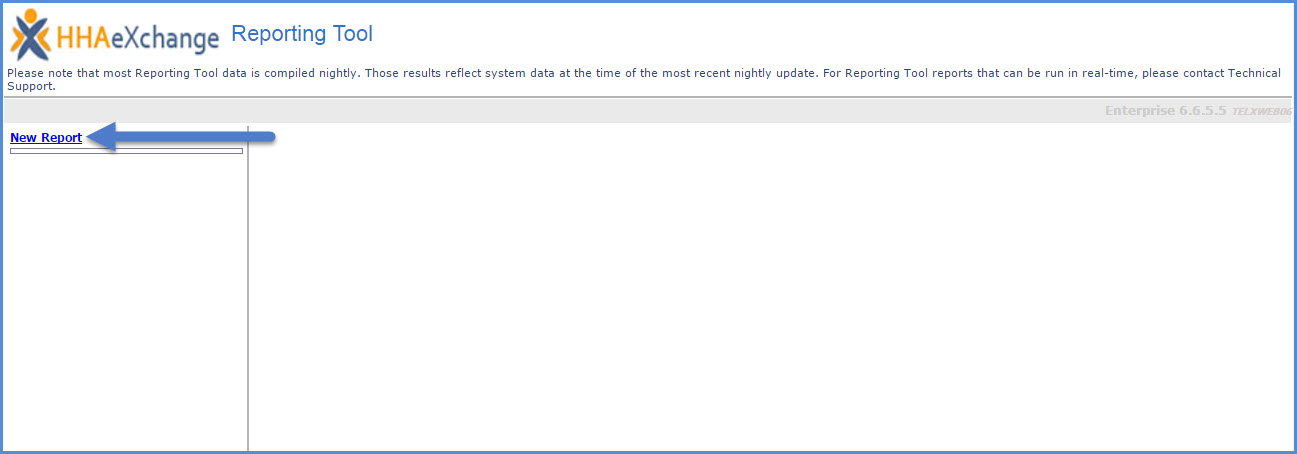
When initially opening the Reporting Tool, the only option available is New Report link. Report Categories are created as reports are generated in the system.
Reports are divided into six sections, accessible using the tabs highlighted in the image below. Four of these sections are used to set up the report, one is used to run it, and the last is used to assign report permissions. Refer to the table below the image for descriptions.
|
Field |
Description |
|---|---|
|
Data Source |
Create/Assign the report to a Report Category (one of the folders in the left-hand column of the Reporting Tool). Specify which Module in the system where the report is to gather information from. |
|
Fields |
Define categories into which information in the report is sorted. |
|
Filters/Parameters |
Expand the reports search results by defining limits or criteria for the information compiled from the selected Data Source. |
|
Misc |
Customize how the report is displayed when run. |
|
Preview |
Select to run and export the report. |
|
User Rights |
Permit or restrict access to reports on a case-by-case basis. |
When creating, or editing a report, go to any of these sections by selecting the corresponding tab, ensuring that the required information on the current tab is complete. To proceed through the report creation process in a linear manner, use the Save & Next button at the bottom.


