Manually Confirm Visits
Visits that cannot be verified using EVV confirmation must be manually entered. Manual confirmation can be completed in bulk using the following functions: Confirm Timesheet, Confirm Visits, and Edit Services. Each of these functions are covered in the sections to follow.

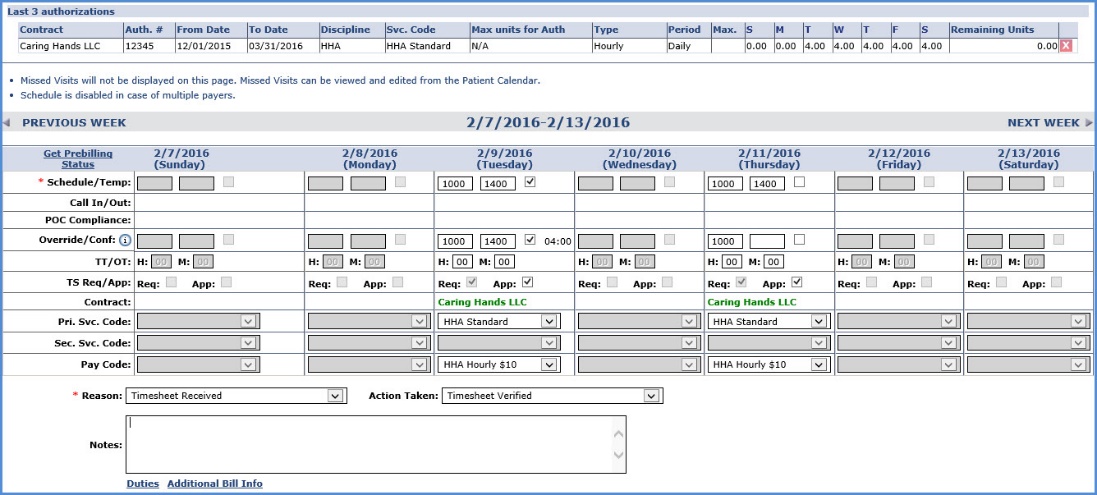
The Confirm Timesheet function is used to enter the schedule, confirmation, and duty information for visits confirmed via paper timesheets. Moreover, the Reason, Action Taken, and Note fields must be completed when manually updating a visit for compliance purposes.
To search for visits using this function, the Office, Caregiver, and a Week-Ending Date must be specified; the Patient field is optional.
Complete the following steps when using the Confirm Timesheet function.
-
Go to Action > Confirm Timesheet.
-
Select the Office, Caregiver Name/Code, and Week-Ending Date (required) fields. Select the Patient, if applicable (optional). Click the Go button to generate visit information for the selected criteria.
-
The system displays visit information for the Caregiver for the specified week. Complete the Schedule / Temp, Override / Conf, and TS Req/App fields to confirm or edit the Scheduled Visit Times, the actual Visit Times (according to the Timesheet) and approve the Timesheet.
If the Caregiver did not have a visit on a certain day, or the visit is in the future, the fields are unavailable. Use the Previous Week and Next Week icons above the search results to go to other Caregiver visits (worked by or scheduled for).

-
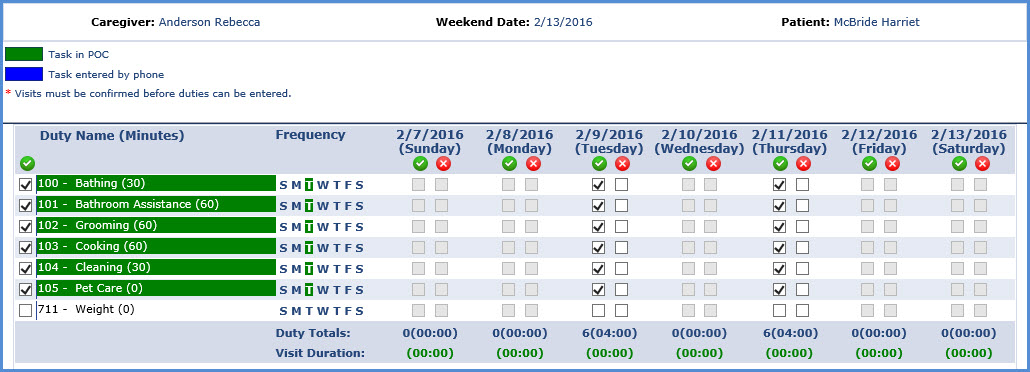
Click the Duties link at the bottom of the page to enter POC Duties for the applicable visit for the selected week. Duties may only be applied to scheduled visits. Click the left-side checkbox to apply duties for all editable visits or Click individual days to specify which duties were performed (or refused) individually.
Duties that are part of the Patient Plan of Care display in green. Those entered by the Caregiver via EVV display in blue.

-
Click the Save button to apply the changes.
-
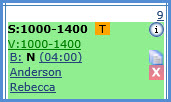
Ensure the visit(s) is confirmed. Go to either the Patient or Caregiver Calendar and review the relevant dates.

The Confirm Visit function is used to manually confirm visits in bulk.
This function displays all visits applicable to the search parameters and is strictly for confirming visits only.
In essence, one cannot confirm a Timesheet or enter POC Duties from this page.
Use the Confirm Timesheet page when a visit requires advanced verification.
Complete the following steps when using the Confirm Visits function.
-
Go to Action > Confirm Visits and specify a date range using the From/To Date fields. The Display value selected dictates the information to view in the search results. Once search parameters are chosen, click the Go button.
-
As illustrated in the image below, the Display value selected is Visit. The search results provide information available on the Visit tab as well as any open fields. Enter or edit the applicable information. When values for these fields are entered, the system highlights the EVV in orange indicating that there is sufficient information to generate a visit. Select the checkbox in the left-most column for records where all the visit information is already populated. Doing so does not highlight the EVV but includes it in the visit processing.
-
Once complete, click the Save button to update all selected records in bulk.

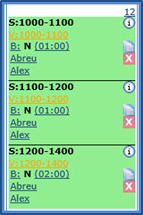
The Edit Services function is used to divide a single visit into multiple sections, each with an individual Service Code. This is useful when each service provided during a visit must be billed separately. Each new visit (or division of the initial visit) can be confirmed from this page.
Complete the following steps to use the Edit Services function.
-
Go to Visit > Edit Services.
-
Specify the Office and Week Ending Date fields. Enter either a Patient or Caregiver to update (optional). Click Search to continue.
-
In the search results, click the Add button under the Date column to create a new visit or division.

-
Enter a new Schedule Time, Confirmation, Service Code, and Timesheet for the new visit.
-
Once all changes have been made, click the Save button to update information in bulk for all adjusted visits. Changes may be reviewed on the Patient’s Calendar.


