Client Support Portal
Use the Client Support Portal to submit requests to the Client Support Team.

You may want to give additional users access to the support portal.
To register additional users:
-
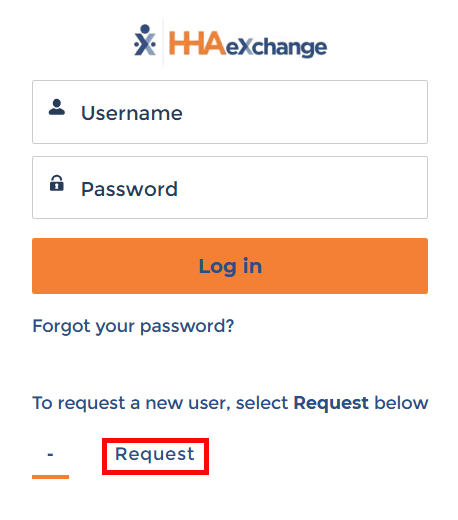
On the login page, click the Request button:
-
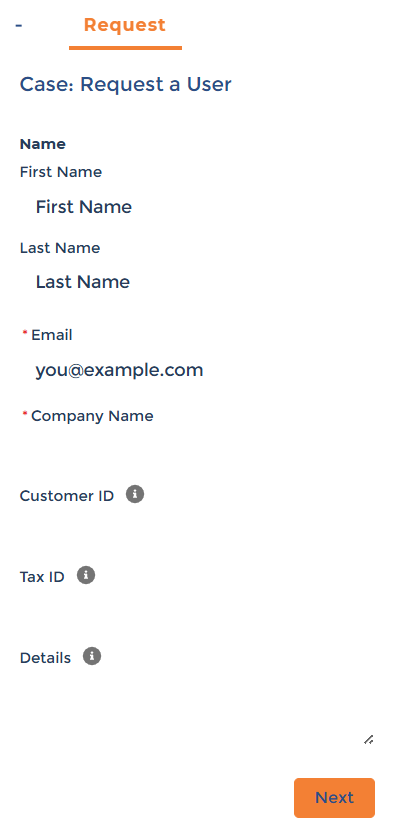
A form opens below the login screen. Fill out the details of the person you would like to register, and then click Next.
-
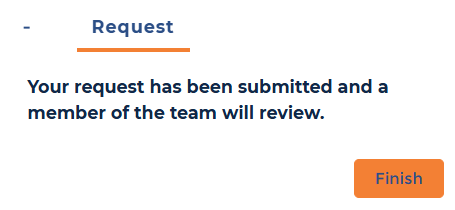
Once your request has gone through, a confirmation screen displays. The support team follows up via email.
- Click Finish. Repeat steps to add additional users.

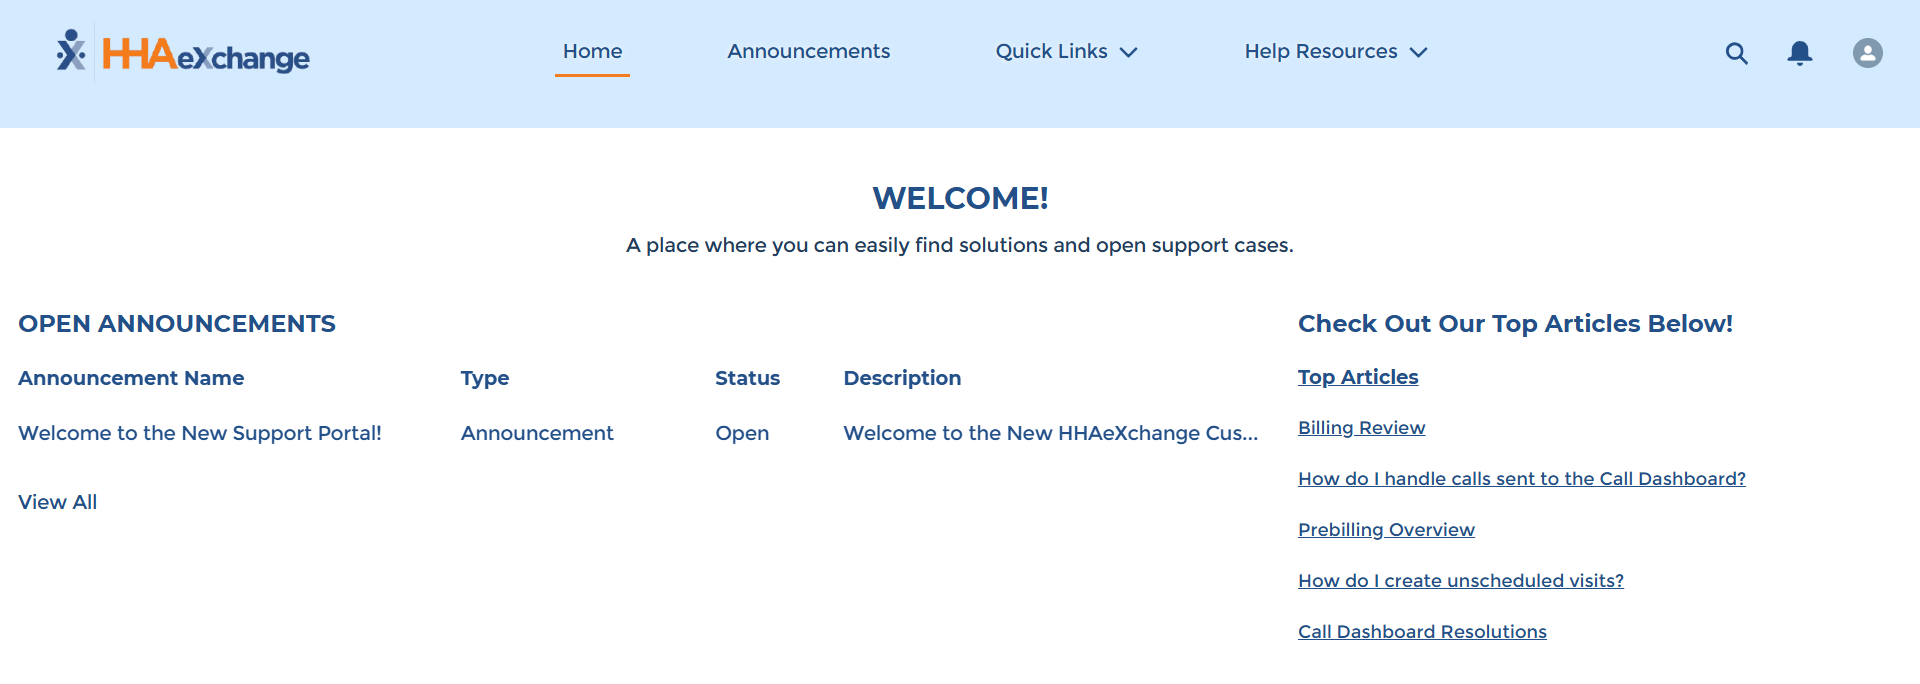
Navigate the Support Portal using the toolbar at the top:
-
Announcements contains important system-wide messages.
-
Quick Links allows you to view your support cases.
-
Help Resources contains links to the Knowledge Base, FAQs, and the ability to open a new support case.
-
The Search icon allows you to search through all elements of the Support Portal.
-
The Bell icon allows you to view notifications specific to your support cases.
-
The Profile icon allows you to view your Profile, adjust your Settings, and Log Out of the Support Portal.

To create a new support request:
-
In the top navigation menu, click the Help Resources dropdown, and then select Support.
-
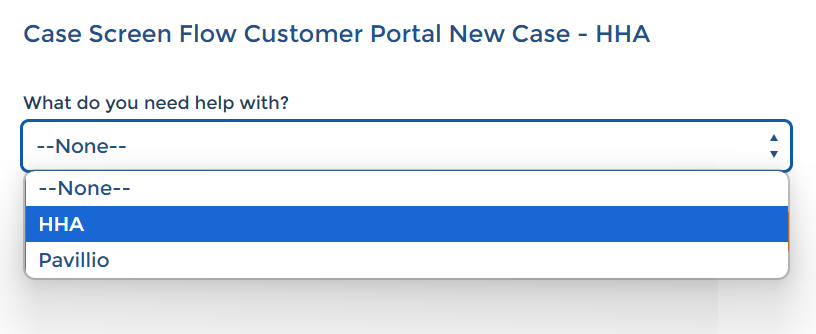
On the following page, select your product from the dropdown, and then click Next.
-
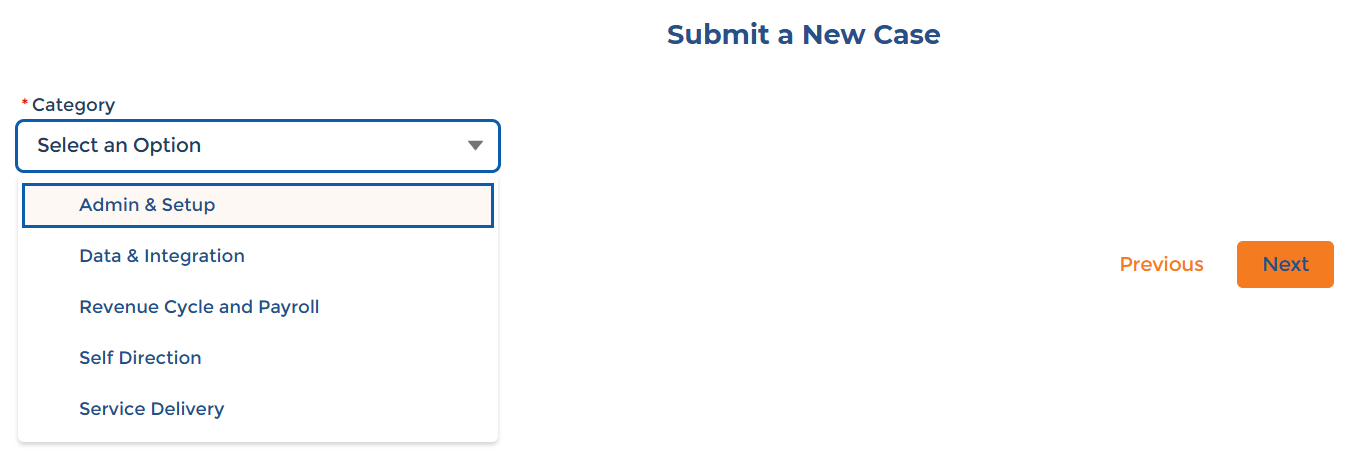
Select the main category of your request, and then click Next.
-
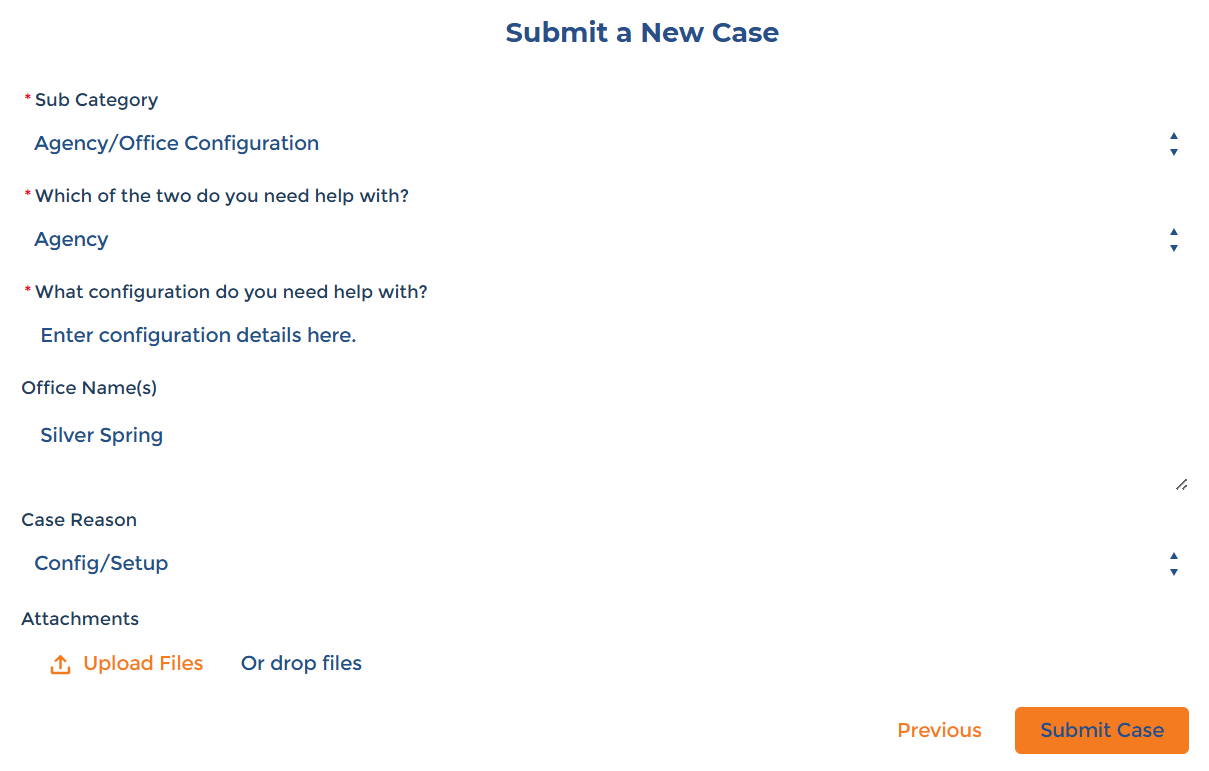
Enter the details of your request. Fields marked with a red asterisk are mandatory. Click Upload Files to attach any relevant files. When finished, click Submit Case.
-
The confirmation screen shows your case is submitted and reviewed shortly by the Support Team. An email is sent to confirm receipt of the ticket.

To view your open support cases:
-
In the top navigation menu, click the Quick Links dropdown, and then select My Open Cases.
You can view all open cases for your Agency by selecting My Company's Open Cases, and closed cases by clicking Closed Cases.
-
On the My Open Cases page, click the Case Number of your request to view more information.
-
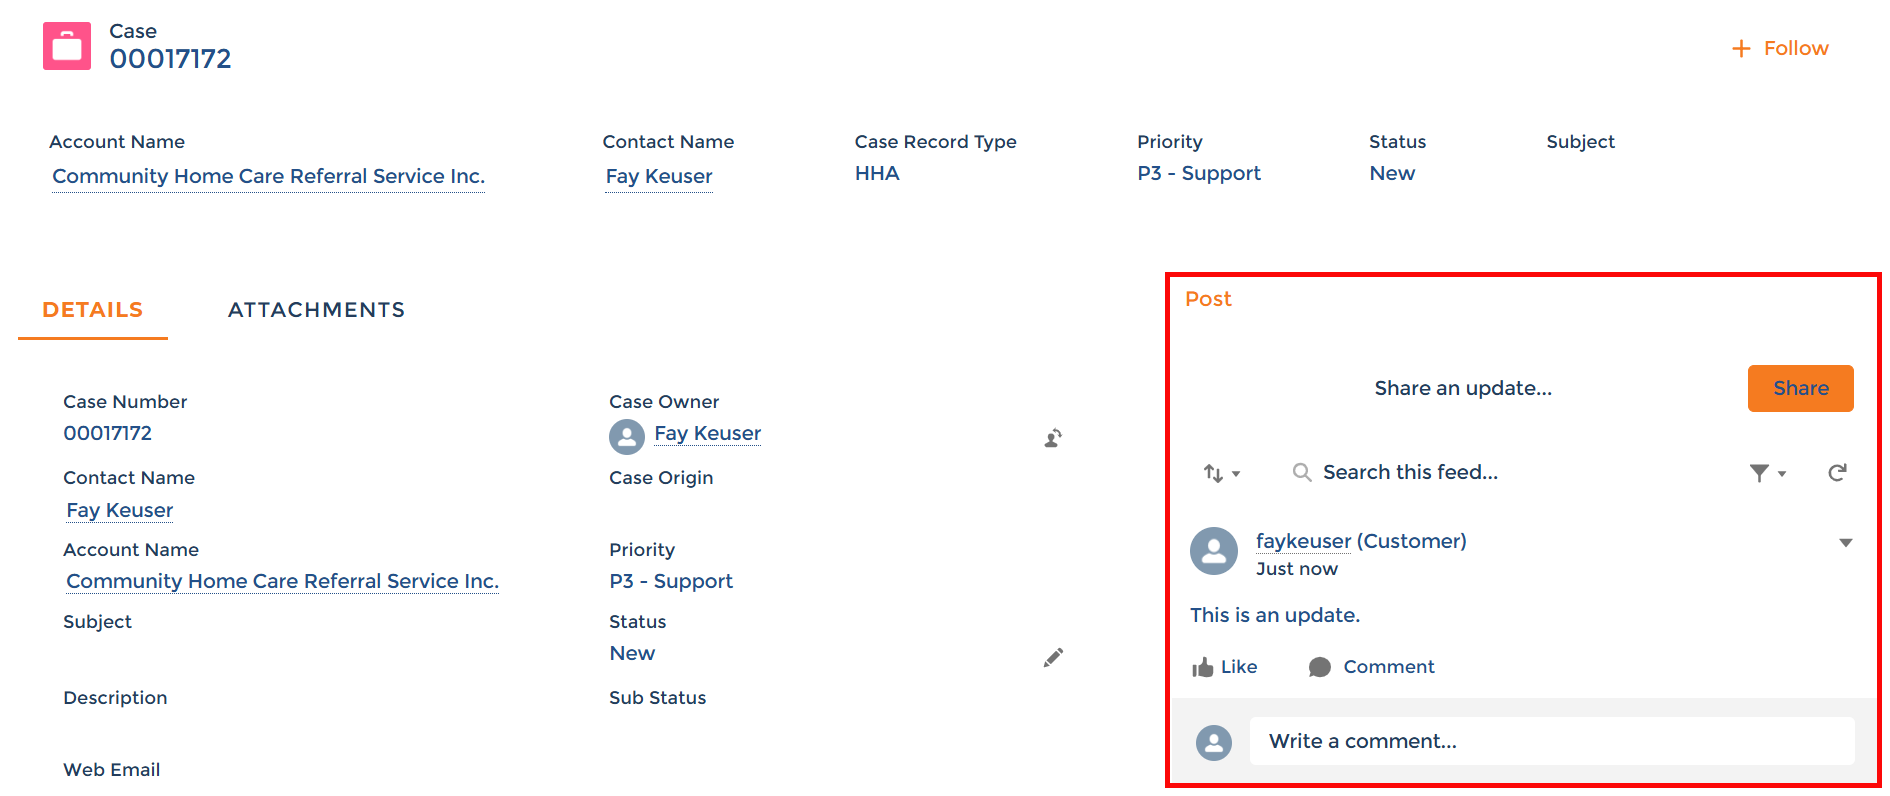
The Case page opens to display the status of your case. To open a communication with the Support Team in the ticket, enter your message in the Share an update area marked below and then click the Share button.
