User Management Feature
Providers with the appropriate permissions can add new users or update existing users in the Non-Homecare Portal. User access is controlled by role-based permissions, which also determine access to reports and other administrative features.
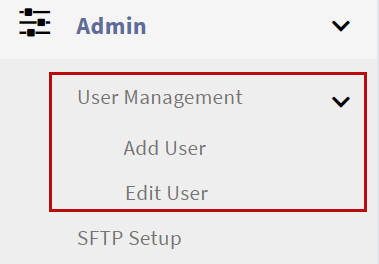
To manage users, go to Admin > User Management.

The Non-Homecare Portal includes two roles:
| Admin | Coordinator |
|---|---|
|
|
Users can only access features assigned to their role. Roles are defined and managed by HHAeXchange System Administration.
To add a new user:
-
Go to Admin > User Management > Add User.
-
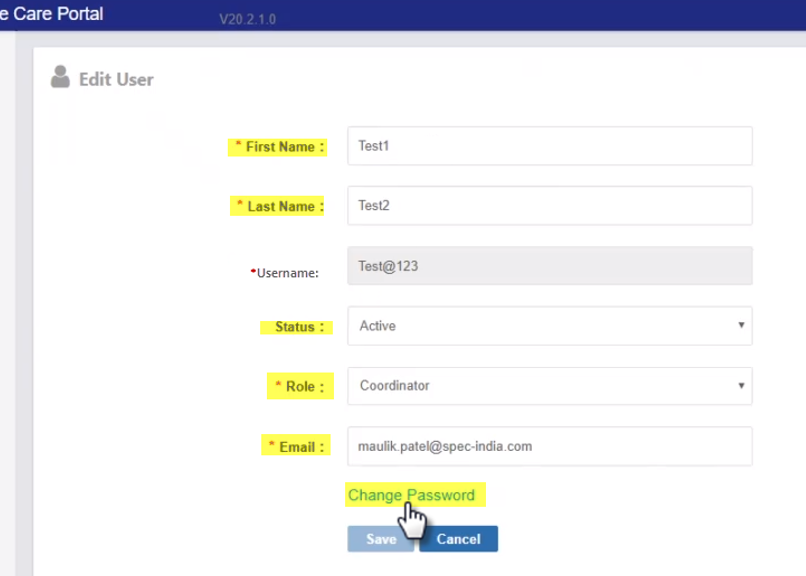
Complete the required fields (marked with a red asterisk):

-
First Name: The user’s first name
-
Last Name: The user’s last name
-
Username: The user’s login name (for example, firstlast)
-
Status: Active or Inactive
-
Role: Admin or Coordinator
-
Email: The user’s email address for system notifications and login emails
-
-
Click Save.
If required fields are missing or entered incorrectly, the system highlights the fields and disables the Save button. Once the profile is saved successfully, a confirmation message appears.

The new user receives a welcome email with login instructions, the portal URL, and a temporary password.

To update a user:
-
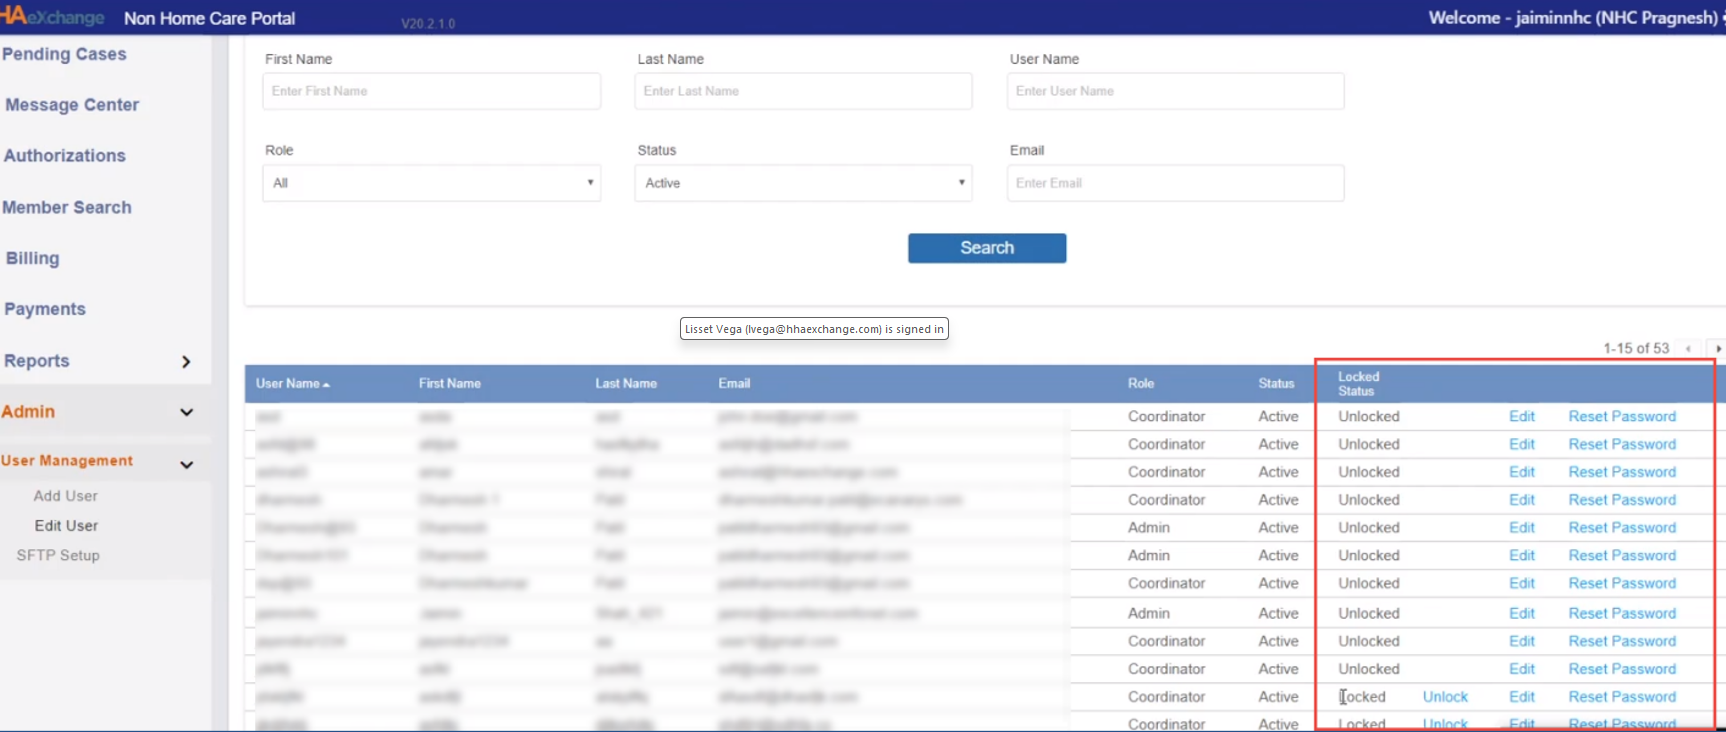
Go to Admin > User Management > Edit User.
-
Use the search filters to find the user and click Search.
-
From the results, select one of the following actions:
-
Unlock: Unlocks the account if it is locked
-
Edit: Opens the Edit User page
-
Reset Password: Sends the user an email with instructions and a temporary password
-
-
The Edit User page opens with existing details to update, except the Username field which remains locked and cannot be changed.
-
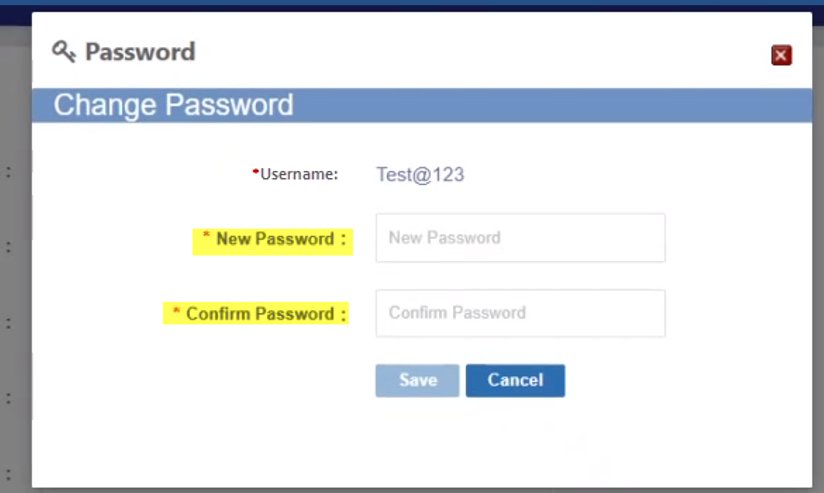
To change the user's password, click the Change Password link.
Only use the Change Password feature to set a new password for the user. To allow a user to reset their own password using a temporary password, have them perform a Self-Service Password Reset instead.
-
In the Change Password window, enter a new password in the New Password field and reenter the password in the Confirm Password field.
-
Click Save.