Conflict Management Page
The Conflict Management page under Action > Conflict Management Dashboard helps providers quickly identify and resolve conflicts on overlapping caregiver visits. This powerful tool:
-
Ensures compliance with EVV regulations.
-
Strengthens payer confidence in patient care delivery.
-
Safeguards against fraud, waste, and abuse.
-
Enhances Financial Health – Resolve conflicts before billing, reducing revenue impact.

-
From the Dashboard page, under Action > Conflict Management Dashboard click the number of conflicts in any of the dashboards. This opens the Conflict Management page. The conflicts are filtered by the criteria selected. For example: Click the number next to Exact Visit Match in the Conflicts by Type dashboard, and only the Exact Visit Match conflicts display in the Conflict Management page.
-
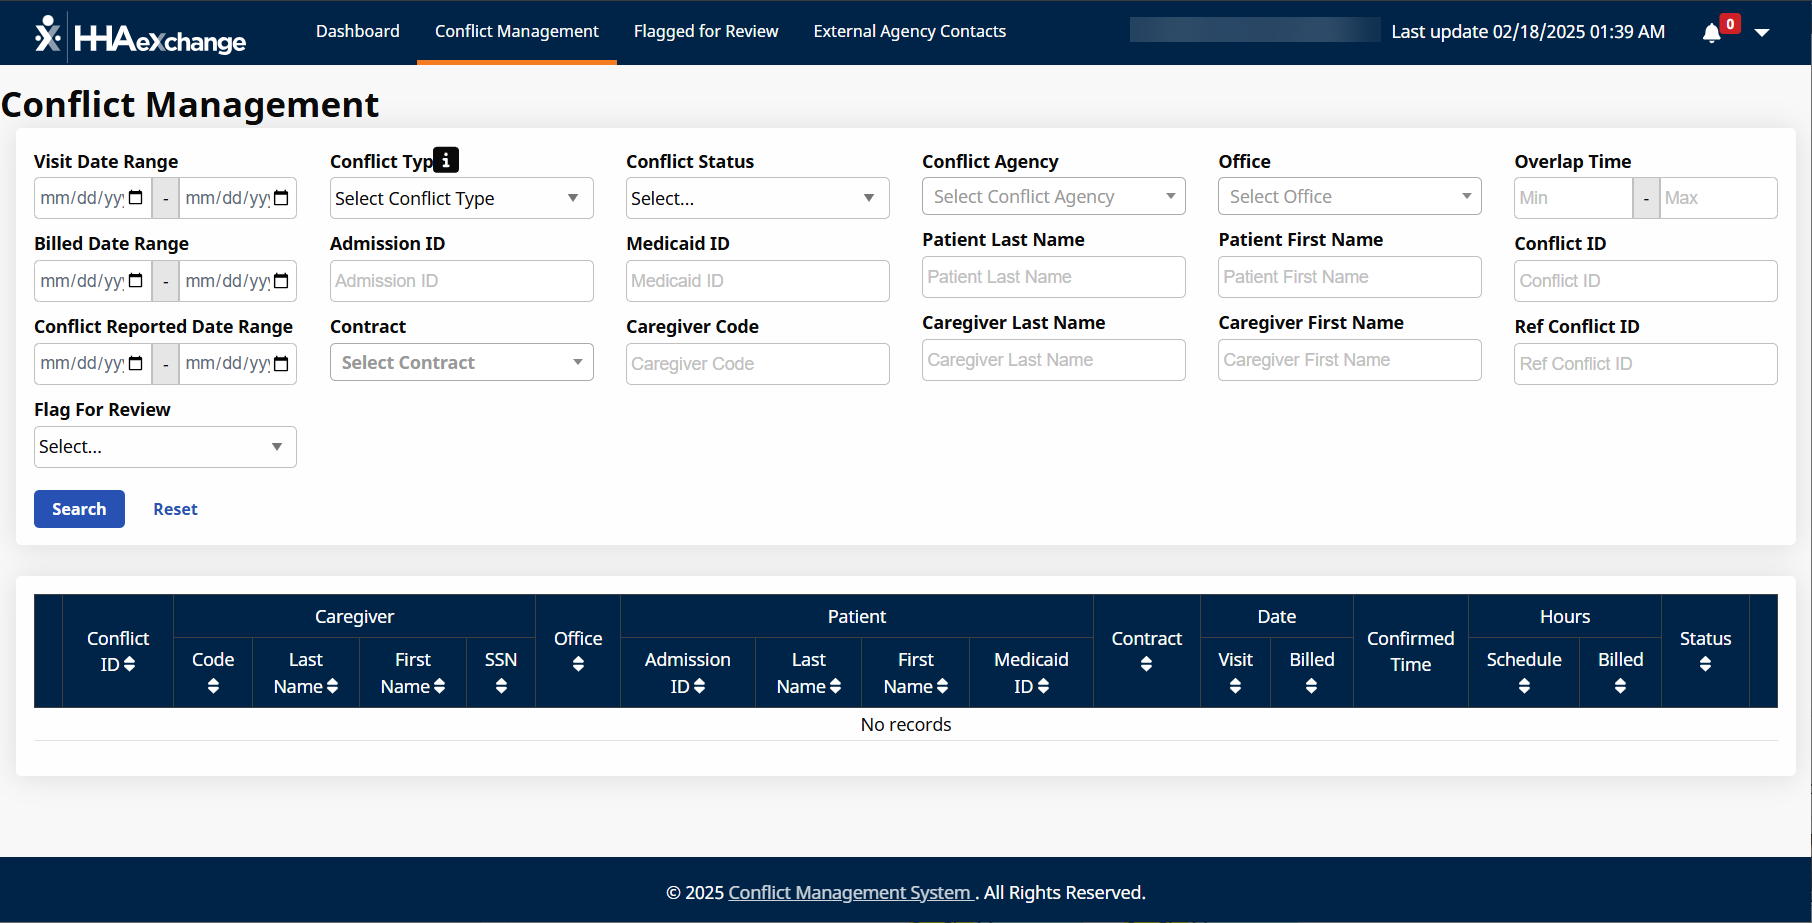
Under Action > Conflict Management Dashboard, click Conflict Management. The Conflict Management page lists all available conflicts.

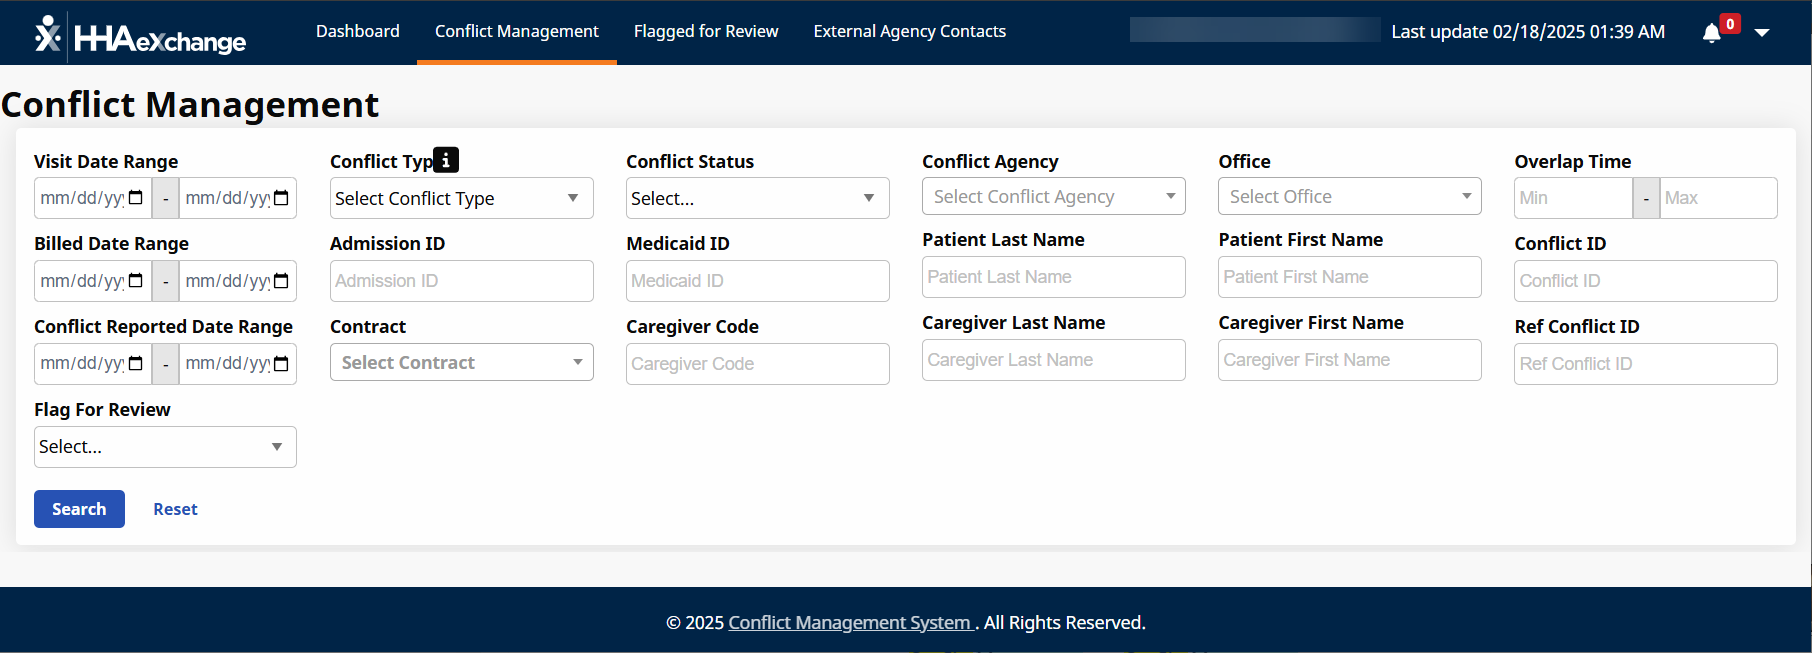
Use the filters at the top of the Action > Conflict Management Dashboard > Confict Management page to list all conflicts meeting the criteria selected. Once all desired filters are entered, click Search to refresh the list.
|
If you are looking for conflicts associated with a |
Use the filter listed |
Description |
|---|---|---|
|
Provider |
|
|
|
Patient |
|
Identifiers associated with the patient |
|
Caregiver |
|
Identifiers associated with the caregiver |
|
Date |
Billed Date Range |
Range of dates when the conflicting visits were billed |
|
Visit Date Range |
Range of dates when the services occurred |
|
|
Reported Date Range |
Range of dates when the conflicts were flagged |
|
|
Conflict Type |
Conflict Type |
Lists the
types of reported conflicts. For a brief description of each
one, click the Information |

Conflicts are listed in a separate rows. Click the Plus sign or the Minus sign at the left side of the row to expand or collapse the row. Expand the conflict to display the name and phone number of the conflicting agency.
Other details available from this expanded view: Conflict Type, Status, Overlap Time, and Last Updated Timestamp. To download the result, click the Export as CSV button.
Click the Ellipses... button to access additional selections:
-
View Conflict Details
-
View/Add Notes
-
Export as PDF,
-
Audit Log
-
Visit History

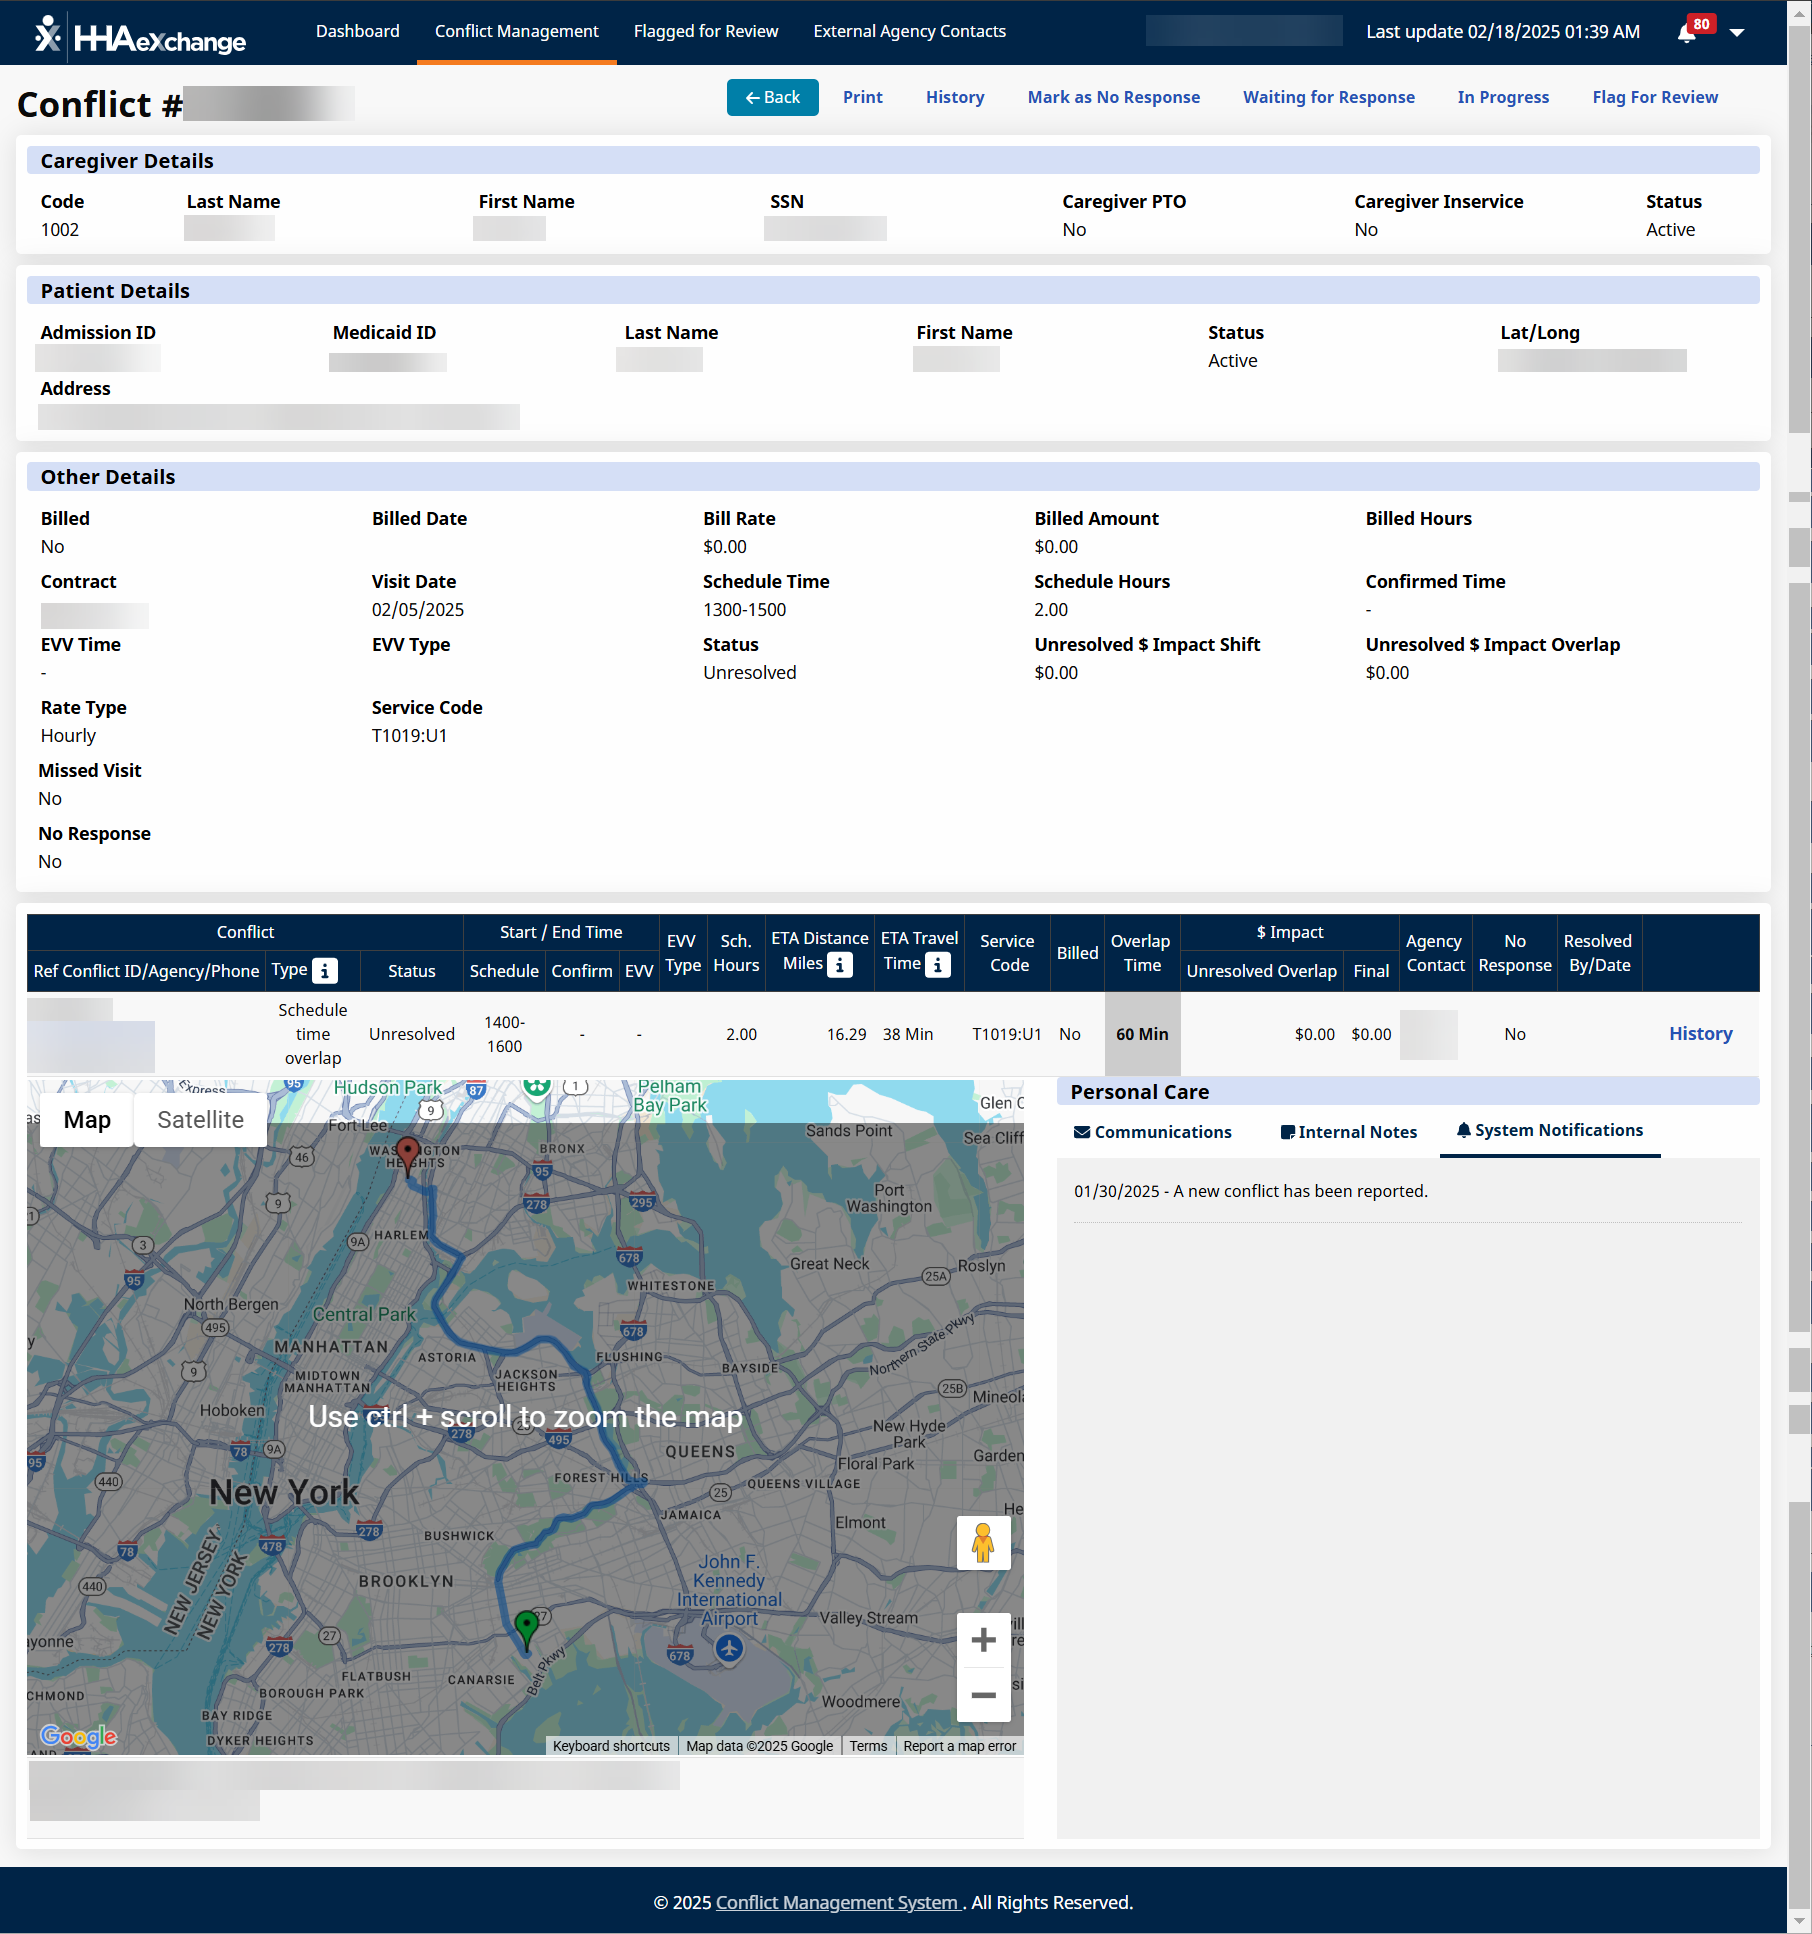
The Conflict Details page under Action > Conflict Management Dashboard > Confict Management displays all information related to the conflict such as:
-
Conflict ID
-
Caregiver details - Code, Name, SSN, Caregiver PTO Indicator, Caregiver Inservice Indicator, Status
-
Patient Details - Admission ID, Medicaid ID, Name, Status, Address and Coordinates
-
Other details - Includes billing information and monetary impact data.

To open the Conflict Details page, select the Ellipses... from a conflict on the Action > Conflict Management Dashboard > Confict Management search results. Select the View Conflict Details button to open the Conflict Details page.
Use the menu at the top of the screen to,
-
Back - To go to the Conflict Management page.
-
Print - Allows you to print the conflict.
-
History - To view the conflict history from the History window.
-
Flag for Review - Allows you to flag the conflict for review. If selected, this conflict displays on the Flagged for Review page.
The bottom half of the screen includes information about the conflicting visit, a map indicating the location of each of the clients involved, and a communications panel.

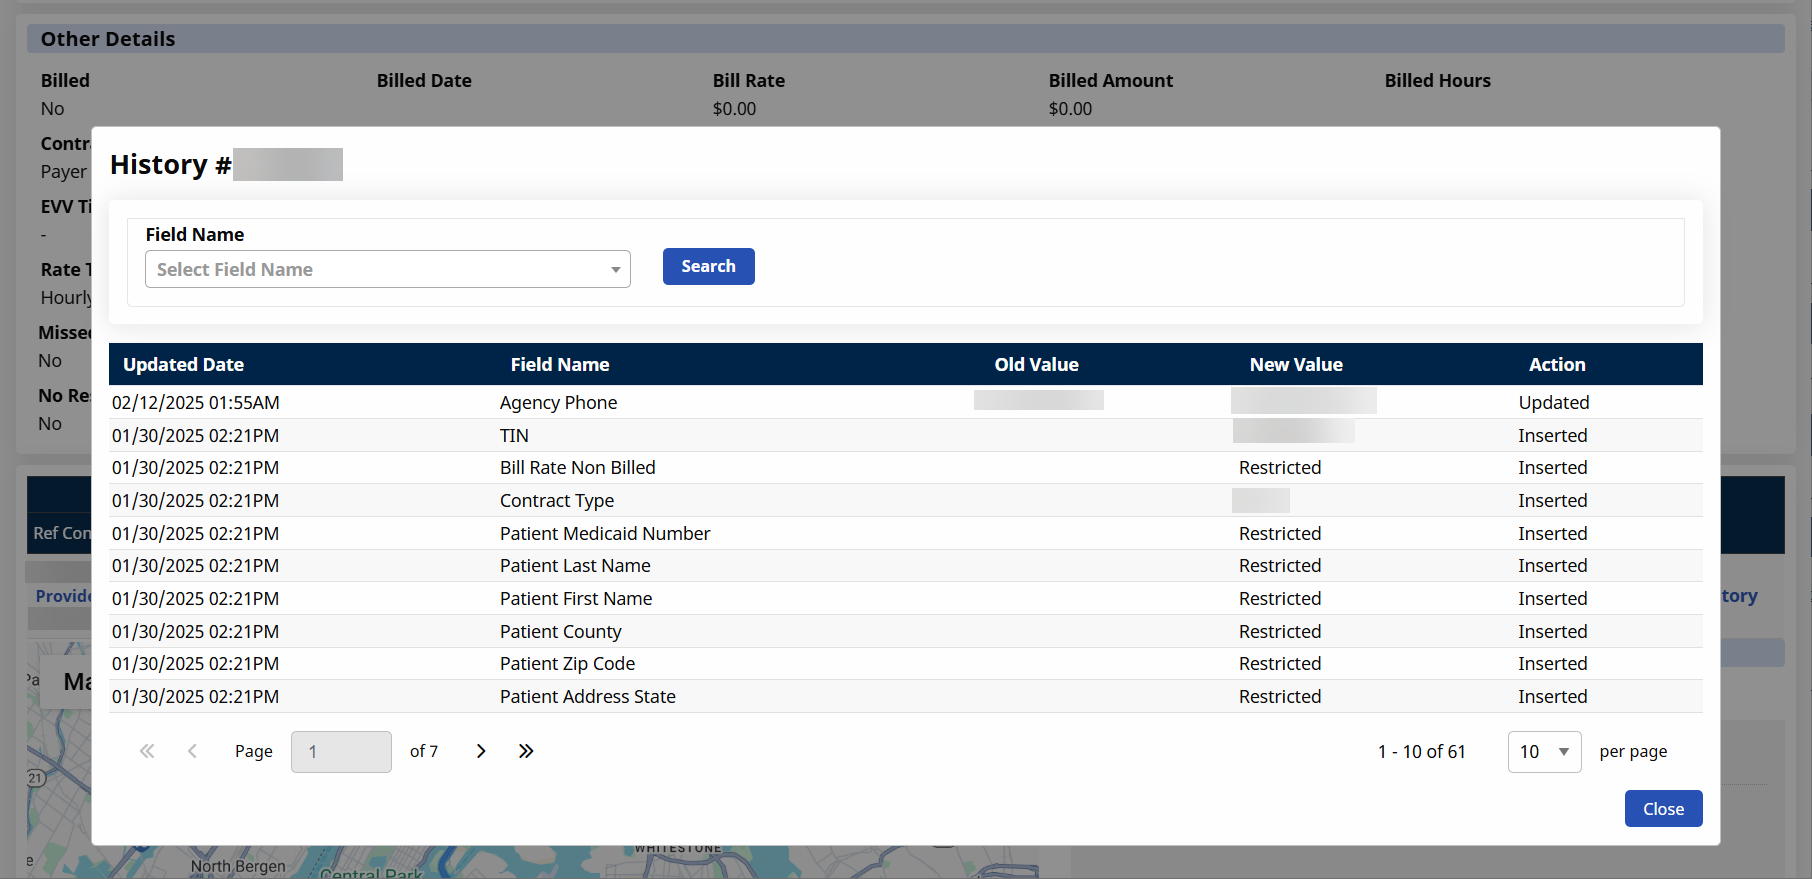
The History Log under Action > Conflict Management Dashboard > Confict Management identifies the date and time stamp of the changes made to the conflicting visit.
To open the History Log page,
-
Select the Ellipses... from a conflict on the Conflict Management results and then select History.
-
Select the History button in the menu at the top of the Conflict Details page.
Select Close on the History Log window to return to the Conflict Management page or Conflict Details page.

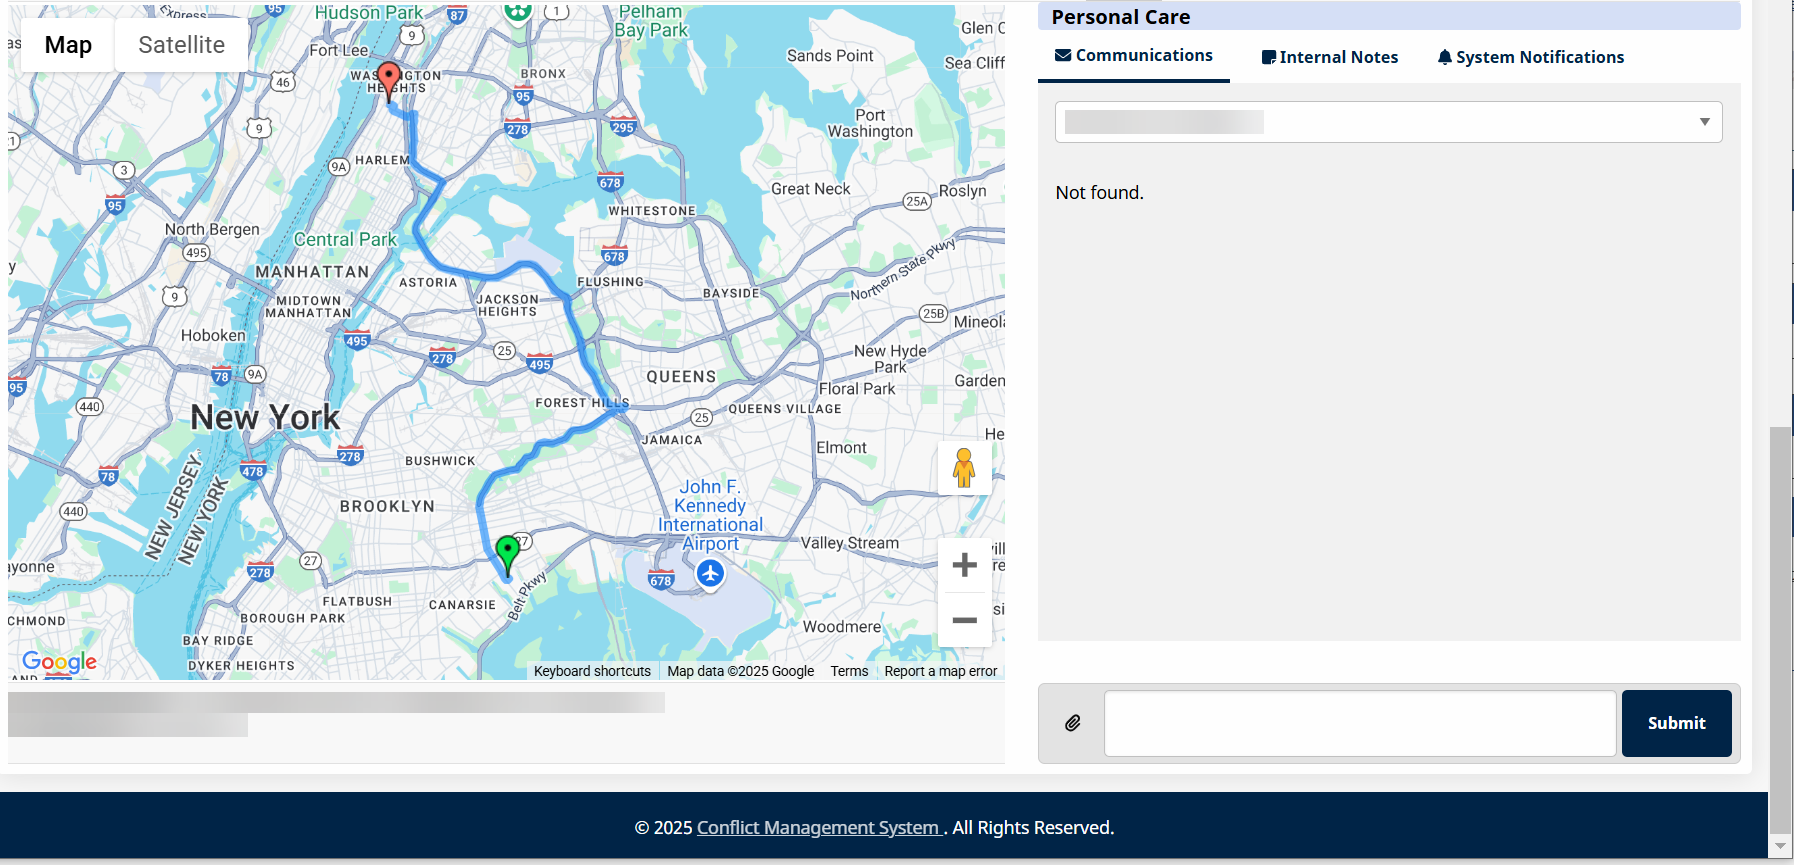
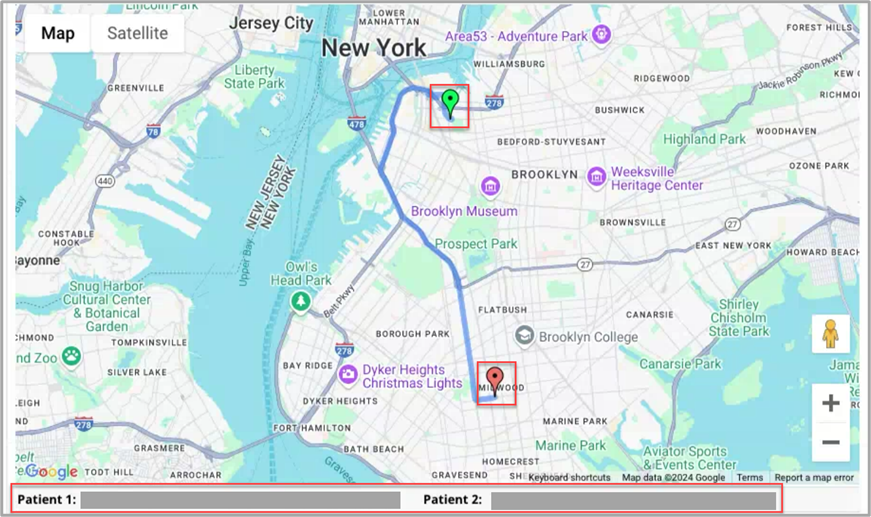
The map flags the location of the 2 patients involved in the conflicting visits under the Action > Conflict Management Dashboard > Confict Management > Conflict Detail, one in green and the other one in red. The address of both patients is listed at the bottom. Patient 1 refers to your agency’s patient, while Patient 2 refers to the patient on the conflicting agency side.
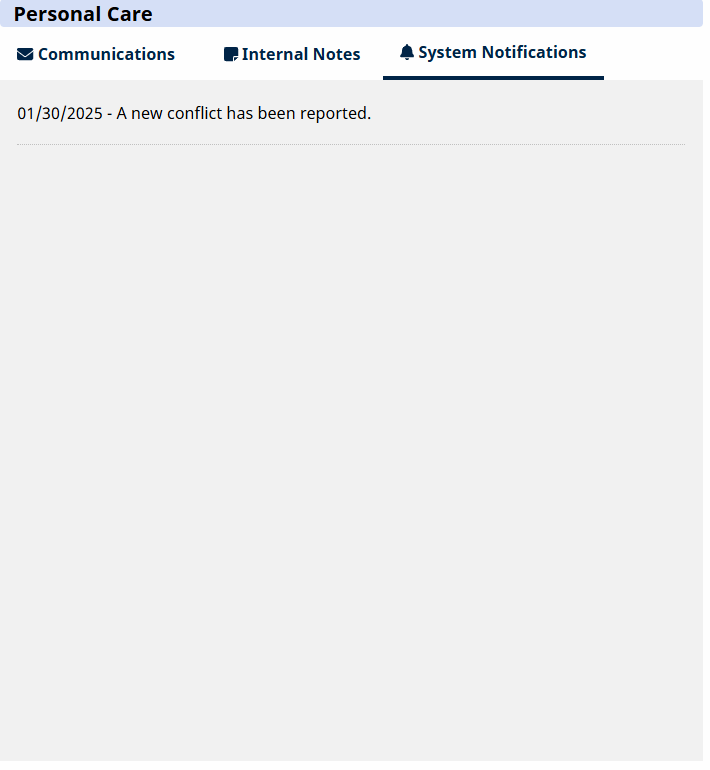
Use the panel on the right side of the map to find all related communications, notes, and notifications for this conflict.

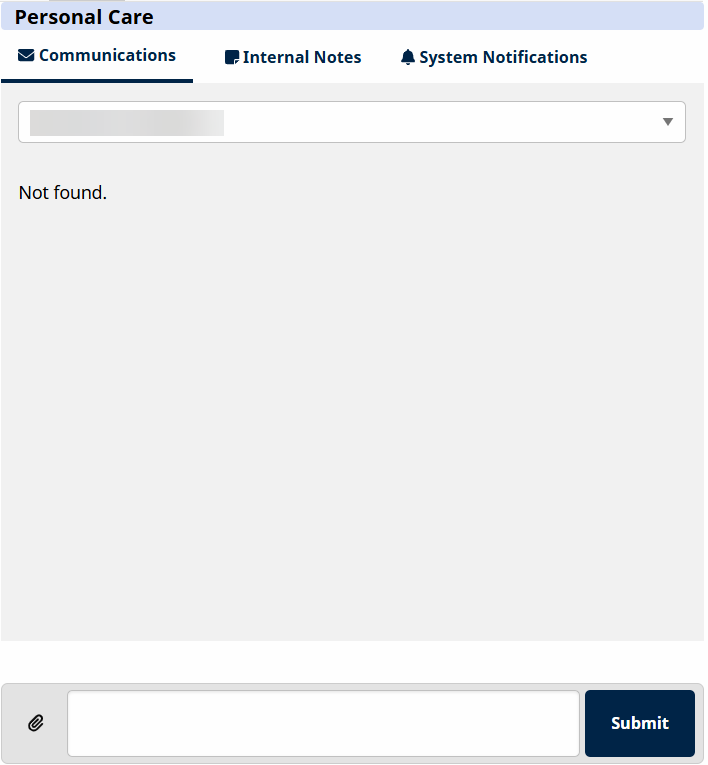
Use Communications under Action > Conflict Management Dashboard > Confict Management > Conflict Detail > Personal Care section to send and receive messages from/to the conflicting Provider or Payers associated with the patients on the conflicting visits.
-
Select the Provider or Payer from the dropdown.
-
Type the message on the box at the bottom of the panel.
-
Click the Attachment icon to include any supporting files.
-
Click the Submit button to send. The new message displays.

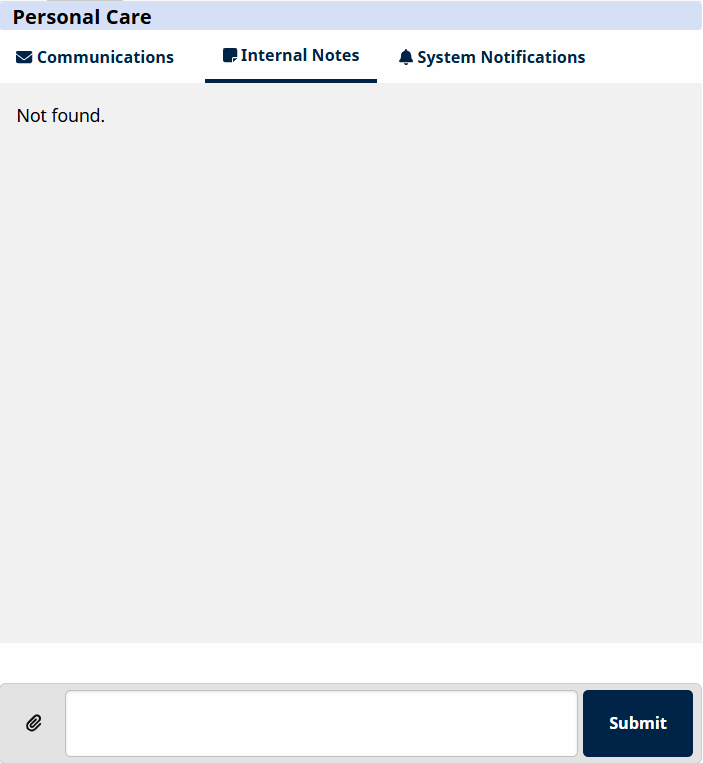
Click the Internal Notes tab under Action > Conflict Management Dashboard > Confict Management > Conflict Detail > Personal Care section to add additional information regarding the conflict. Internal notes are not shared with the payer or conflicting provider. Use this feature to document the steps you are taking to investigate and resolve the conflict.
